GERMINATE YOUR CANNABIS SEEDS IN 3 DAYS
With planting season upon us, I want to use this Blog to highlight our friend Christian Petke’s effective germination technique. In his last trial of the method, he had over 98% success. In three days, you’ll have healthy seedlings sure to sprout big buds. Enjoy.
Ed
Day 1 - Sanitize, soak, and save your notes
There are many different methods for seed germination. For Christian’s technique, you’ll need the following supplies:
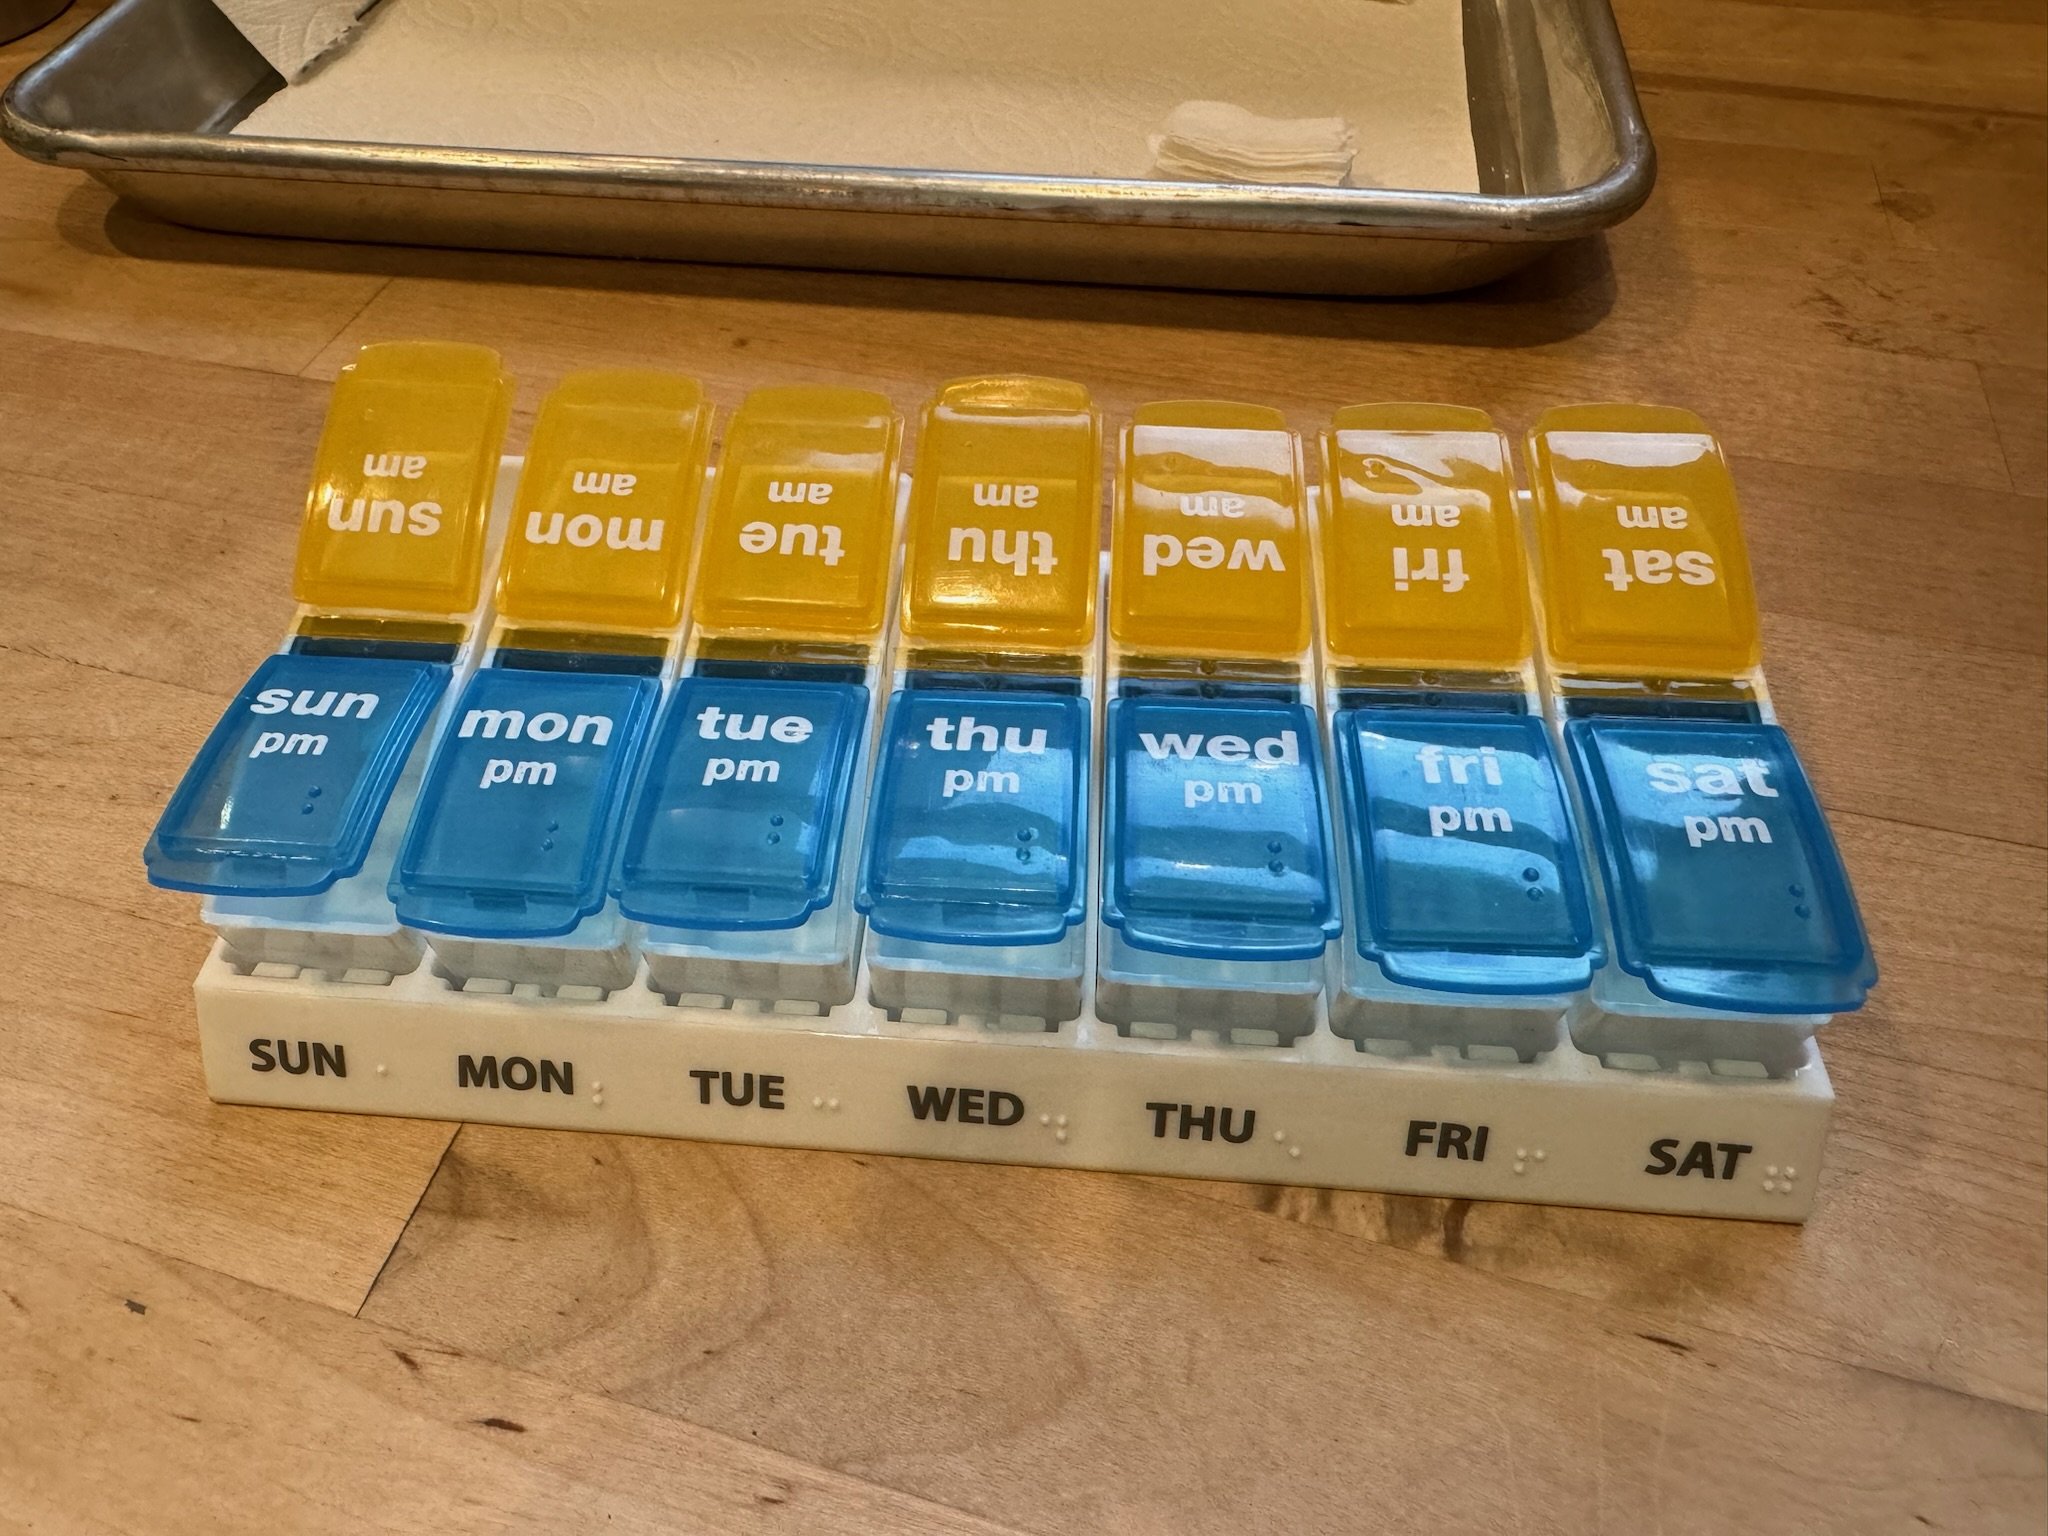
Weekly pill organizer
Paper towel
Distilled water
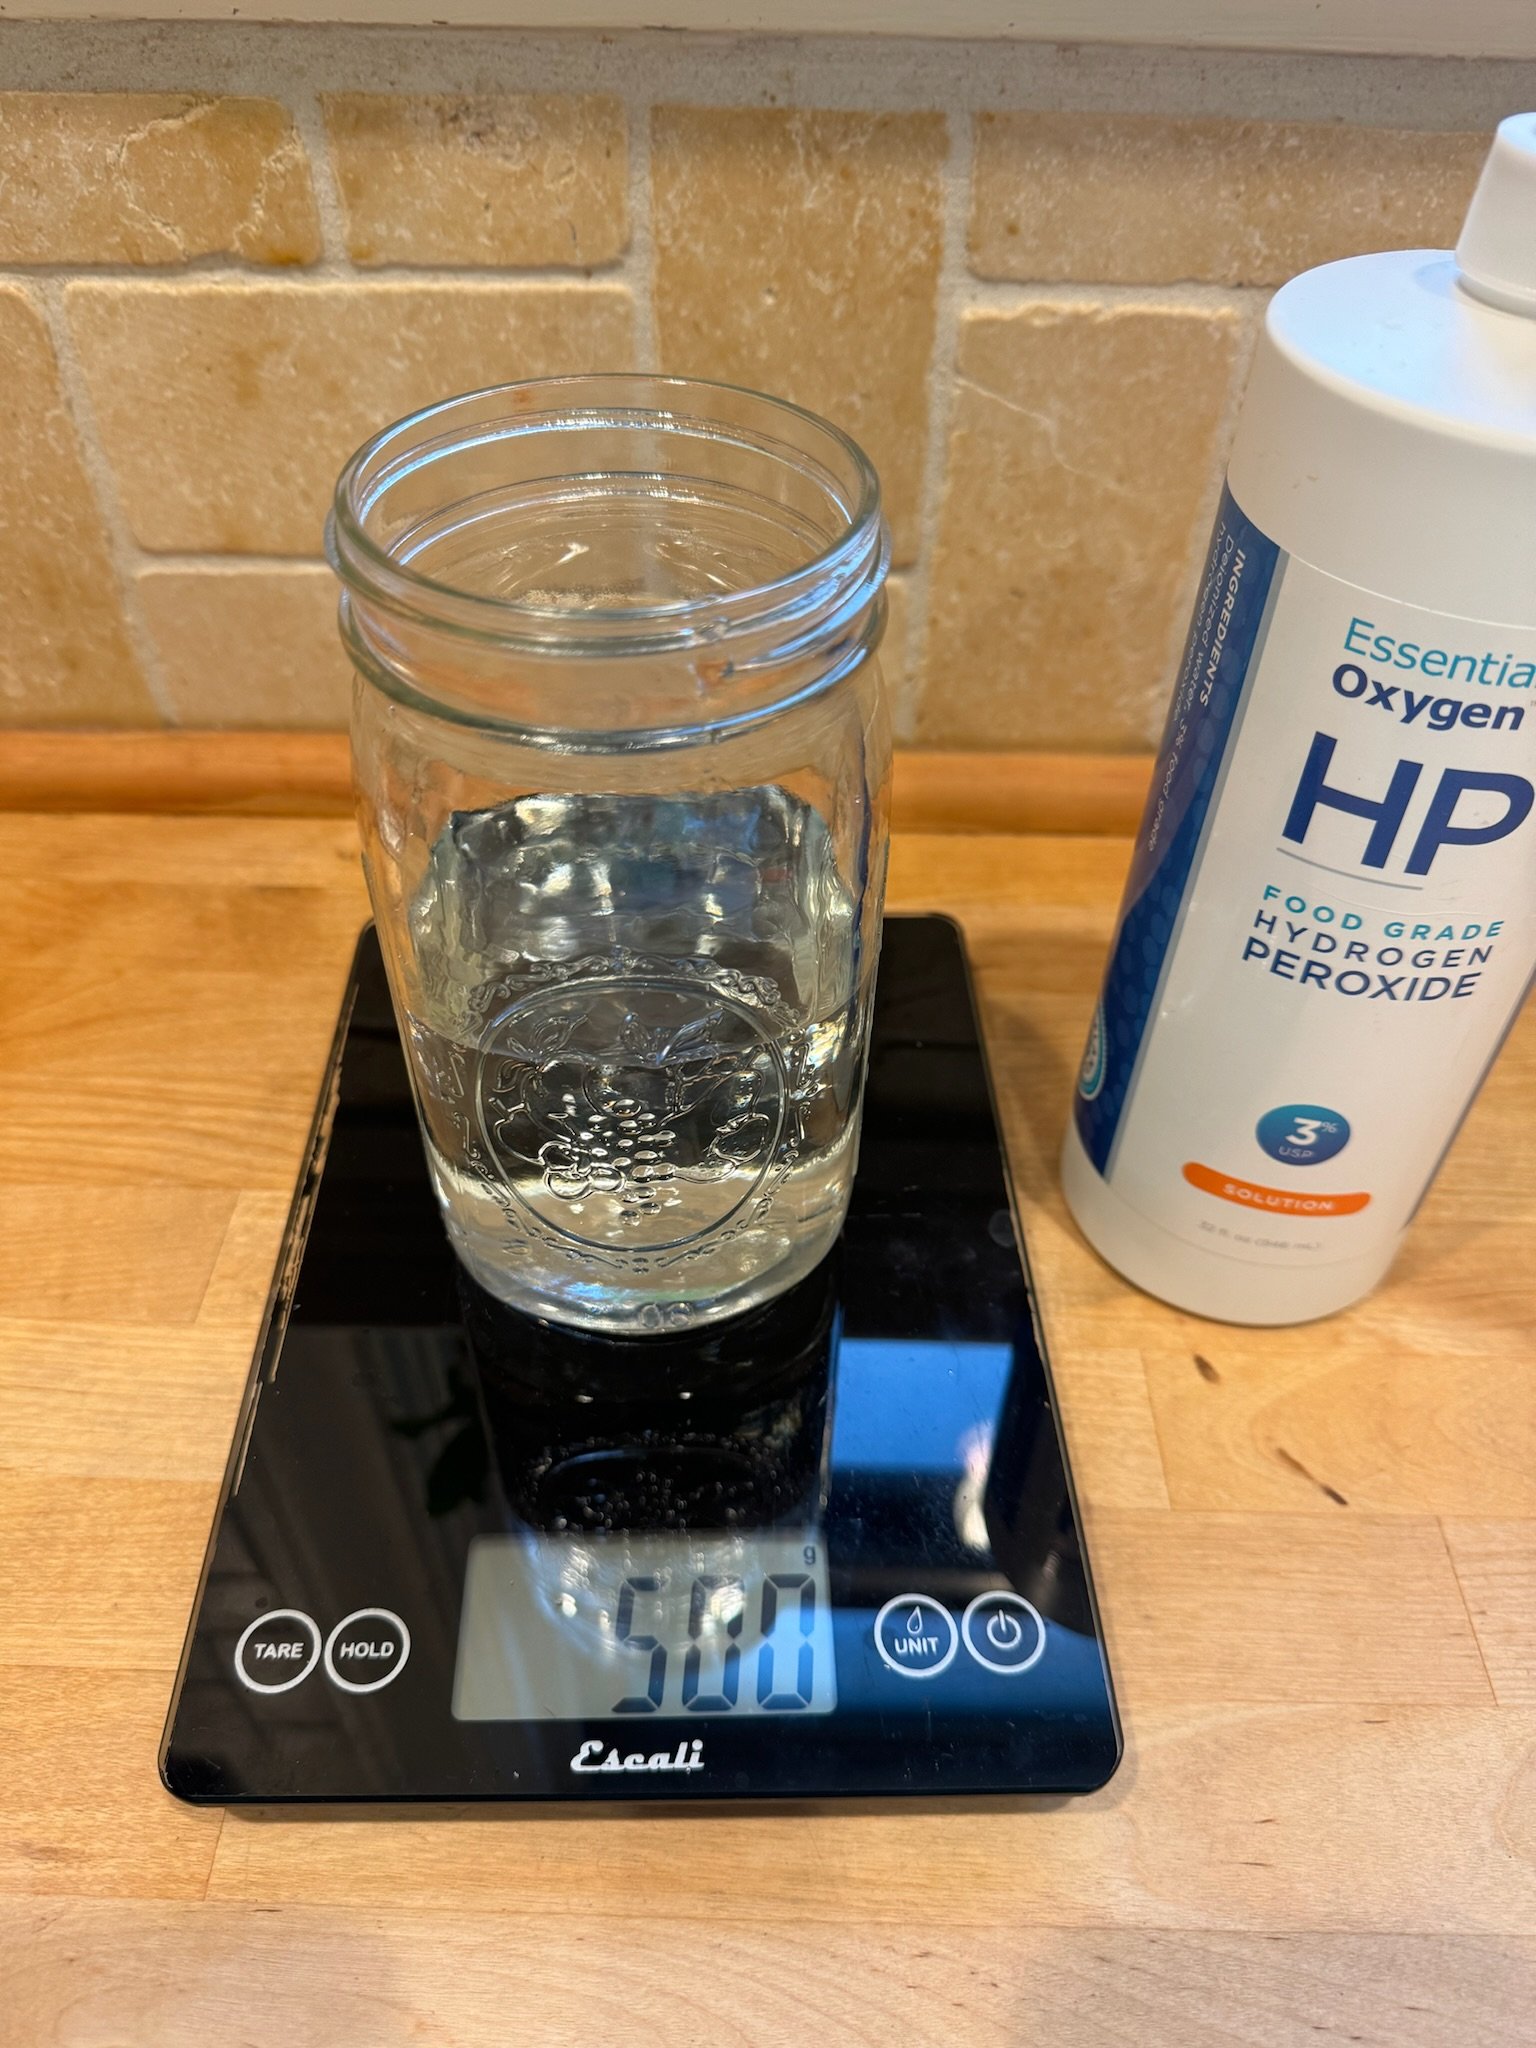
3% Hydrogen peroxide
Cannabis seeds from a reputable supplier like Purple Caper
Heating Mat with Adjustable Temperature
Tweezers
Clean cloth
Seed tray
Growing medium
Painter’s tape or other label
Marker
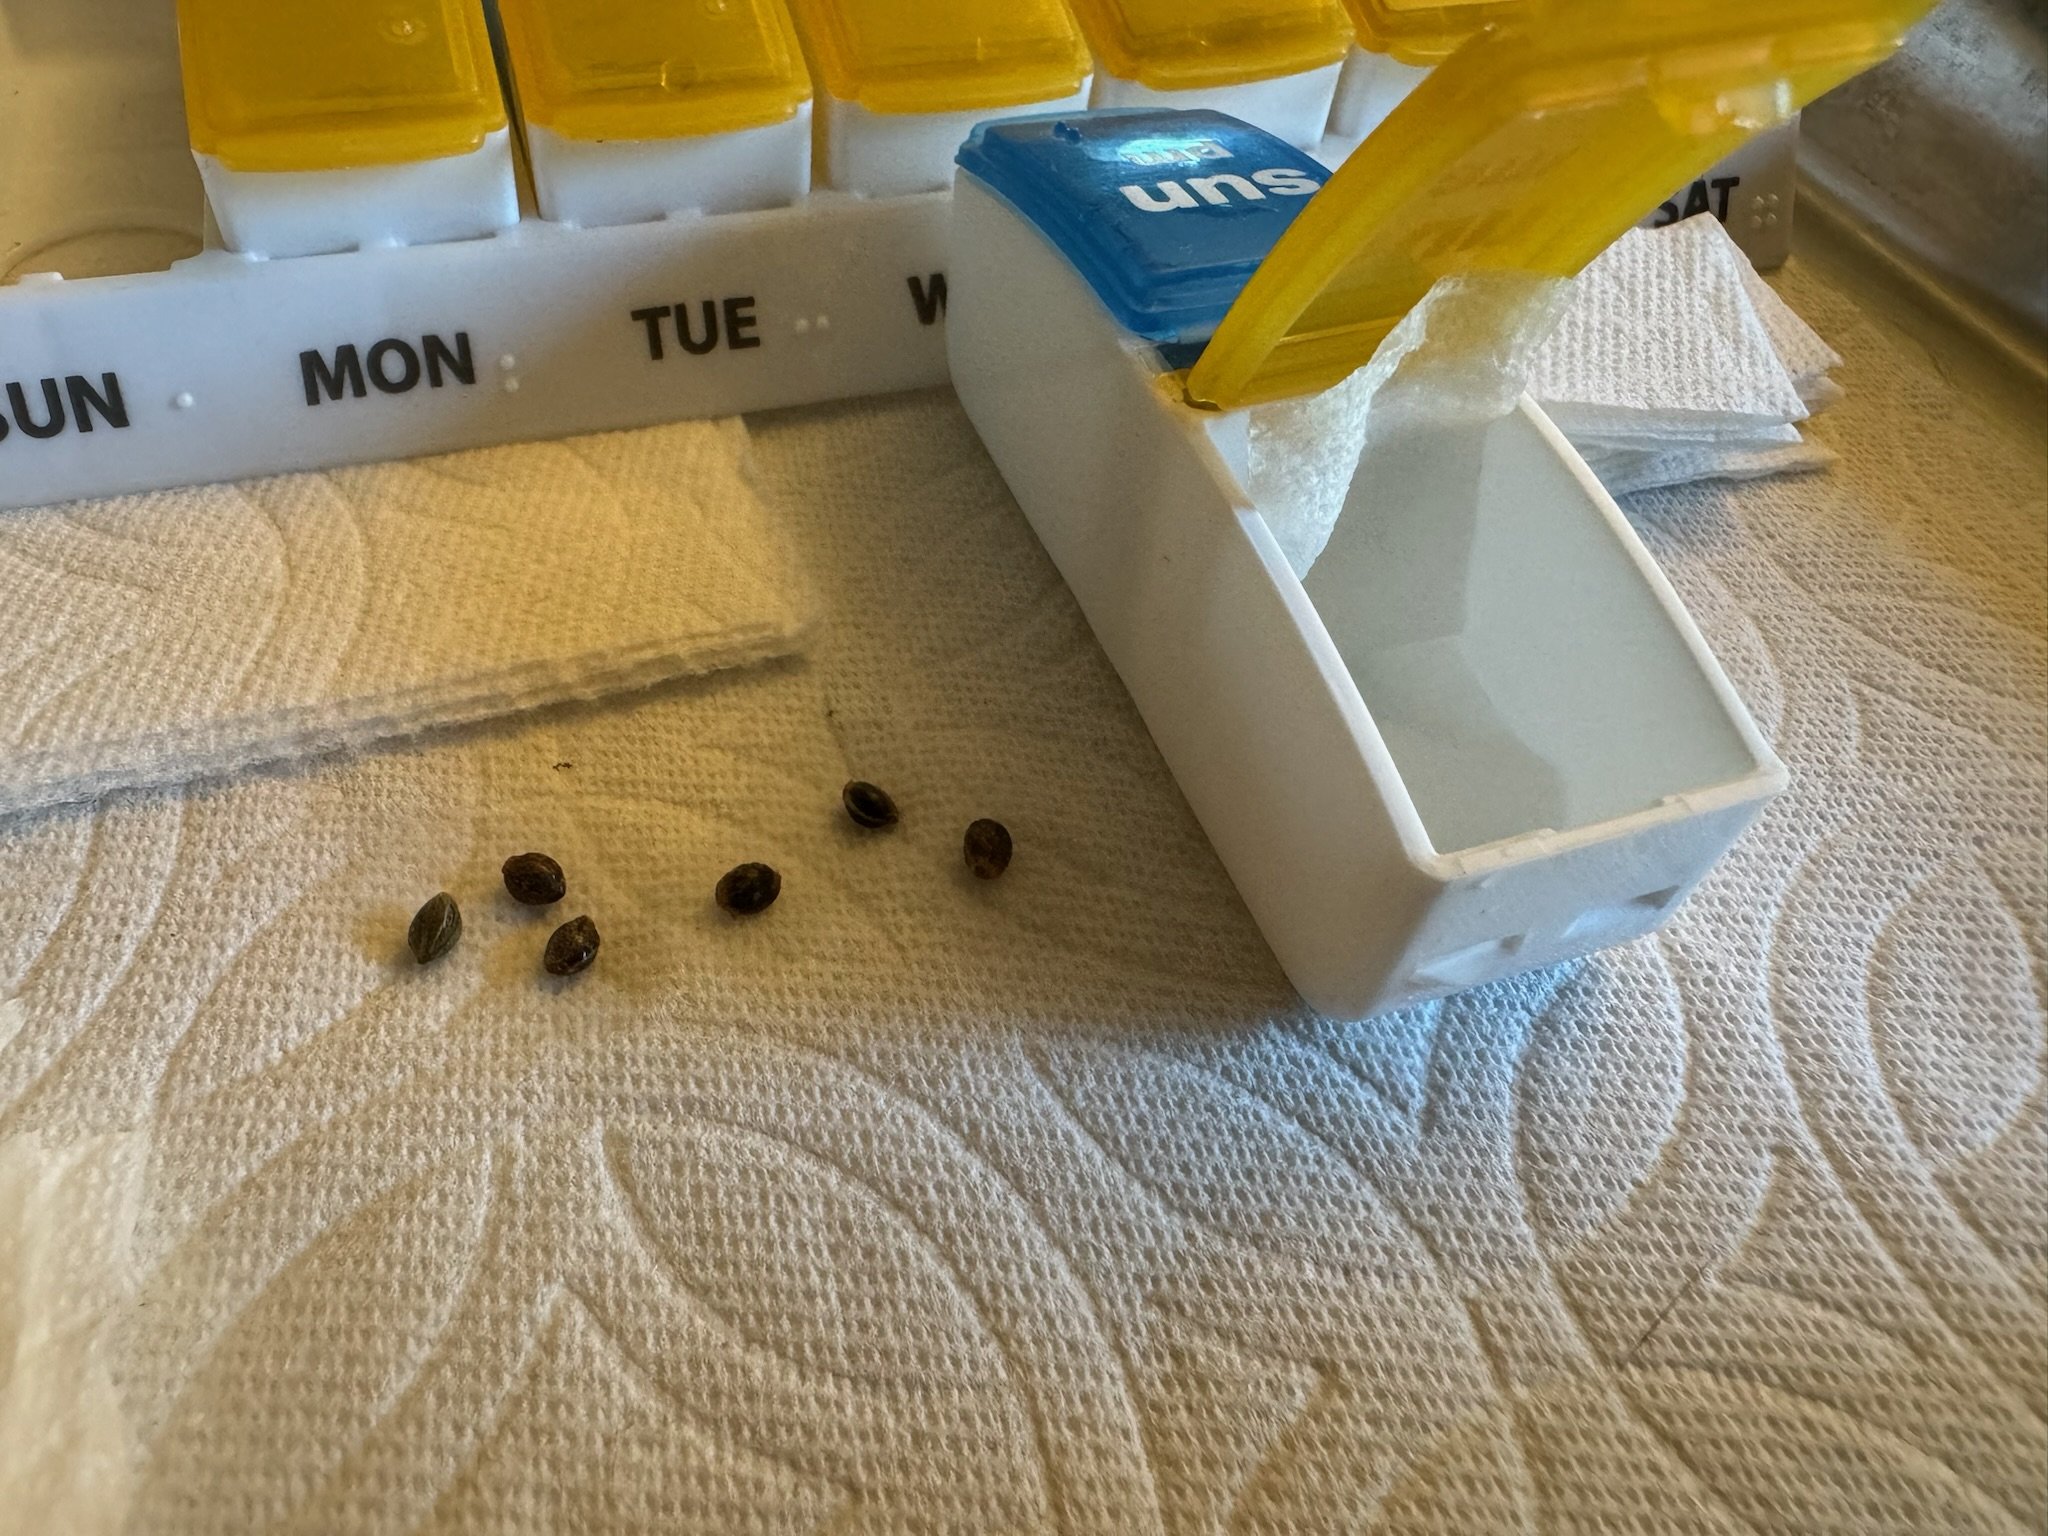
The first thing you want to make sure you do is have sanitized air containers. Boiling in hot water works well, otherwise you can use isopropyl alcohol. Weekly pill cases are great for starting seeds since they keep everything very organized, especially when you’re growing multiple varieties.
To soak the seeds, use a ratio of one part hydrogen peroxide, five parts distilled water. The solution will sterilize the seeds and help promote germination. It’s a good idea to weigh the water out because it is more accurate.
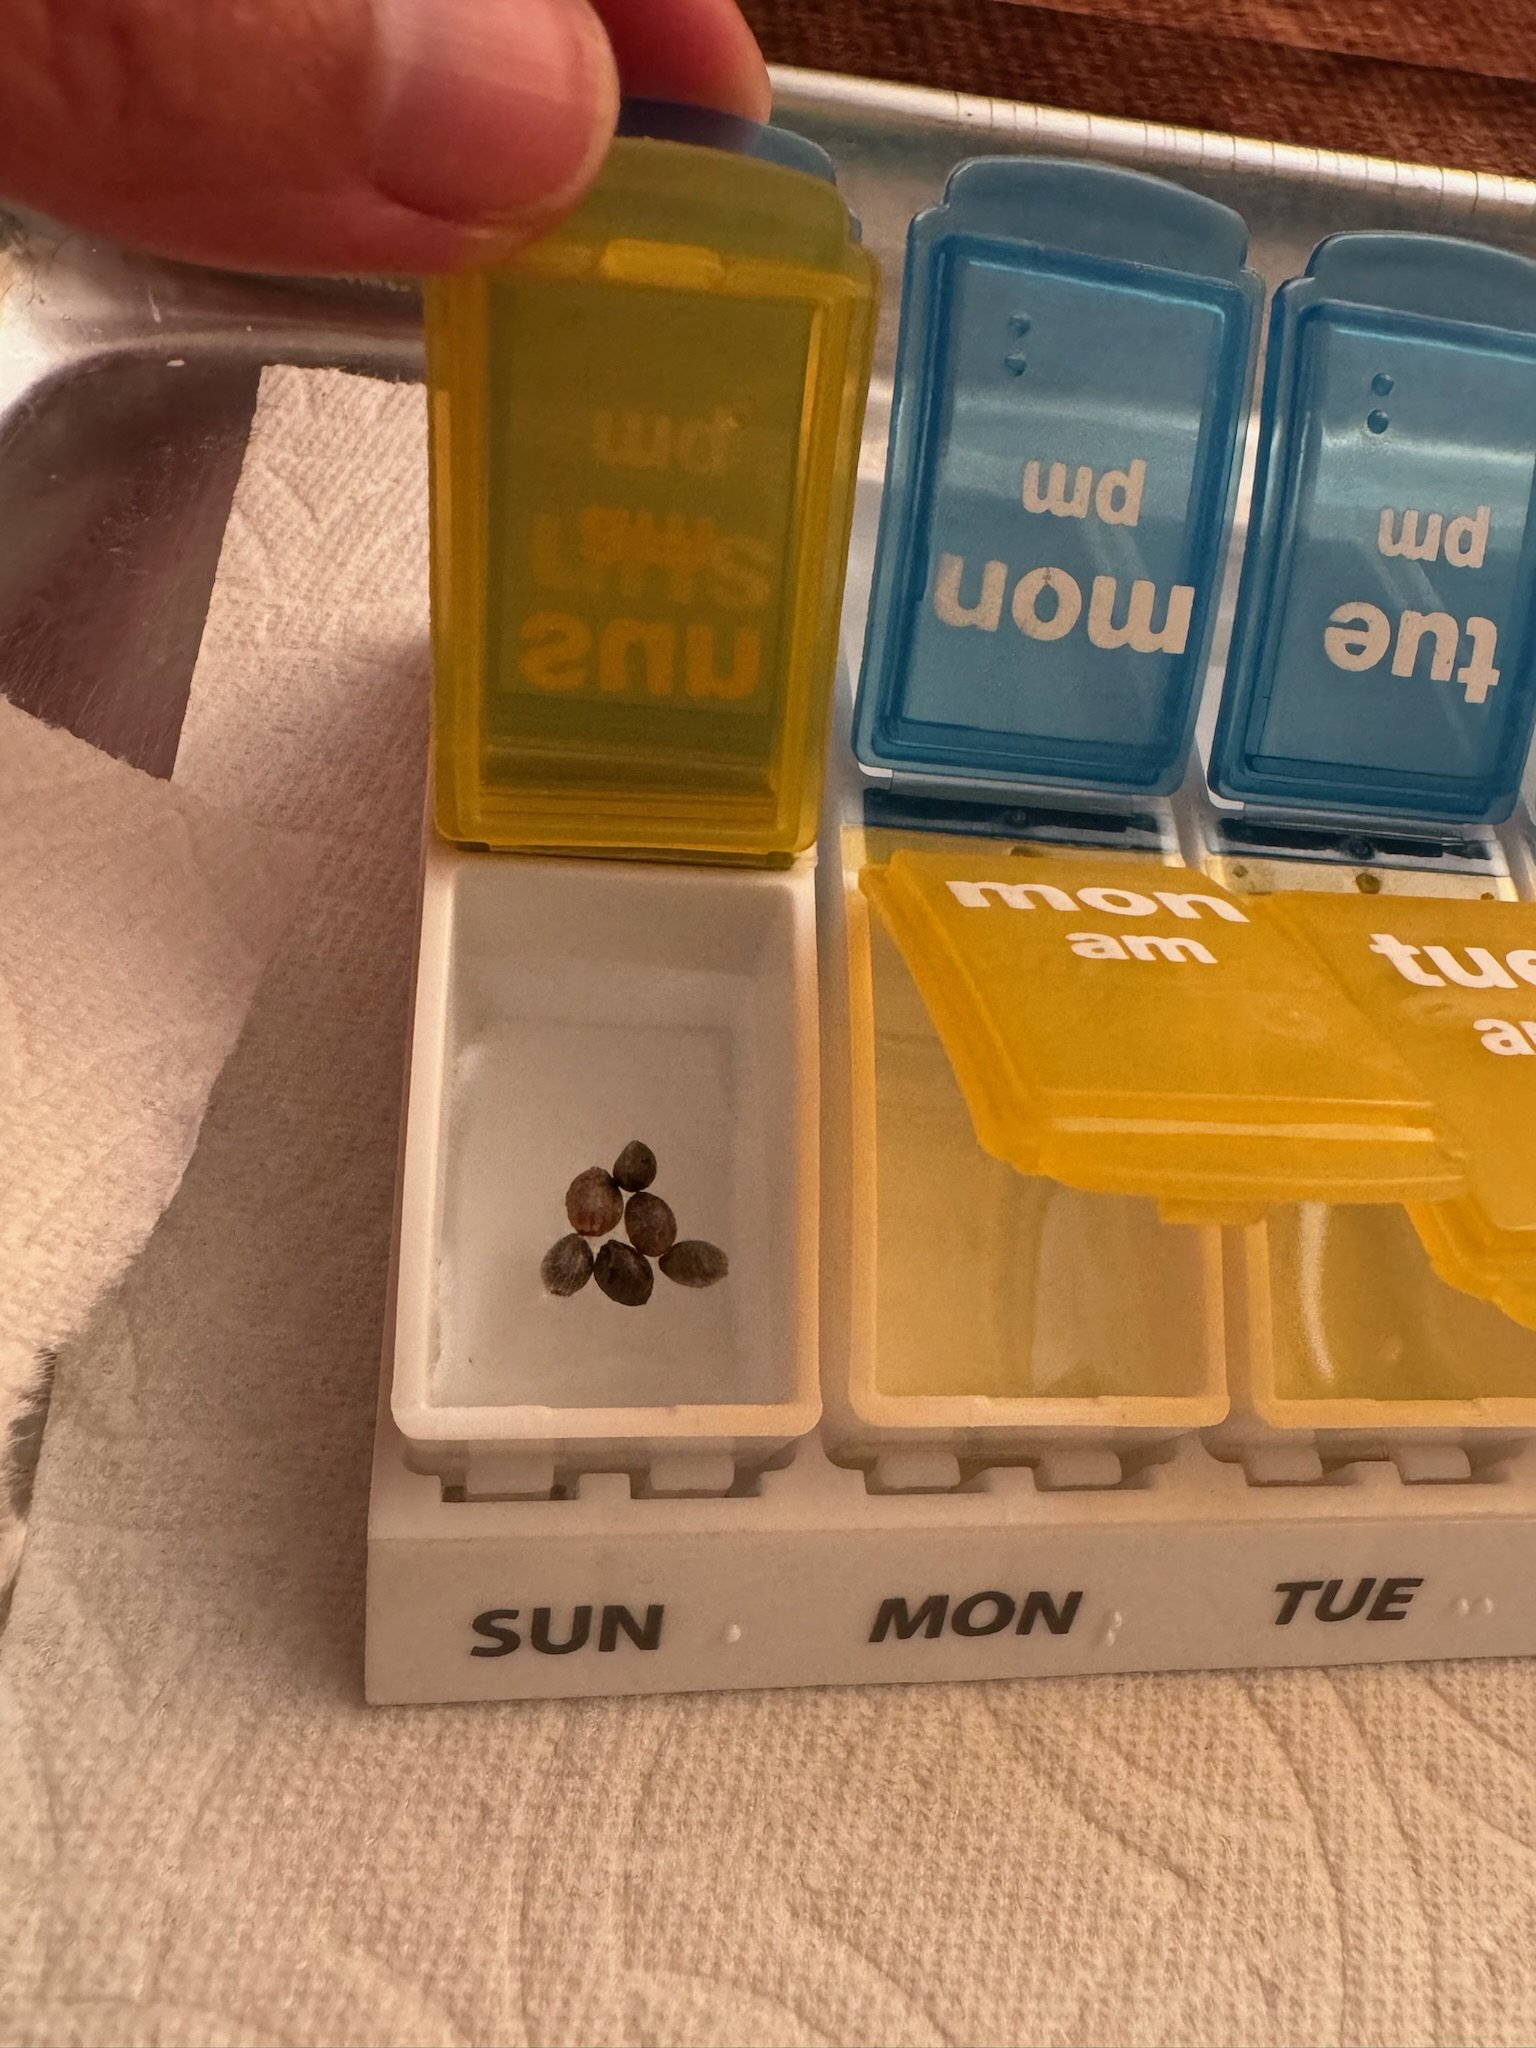
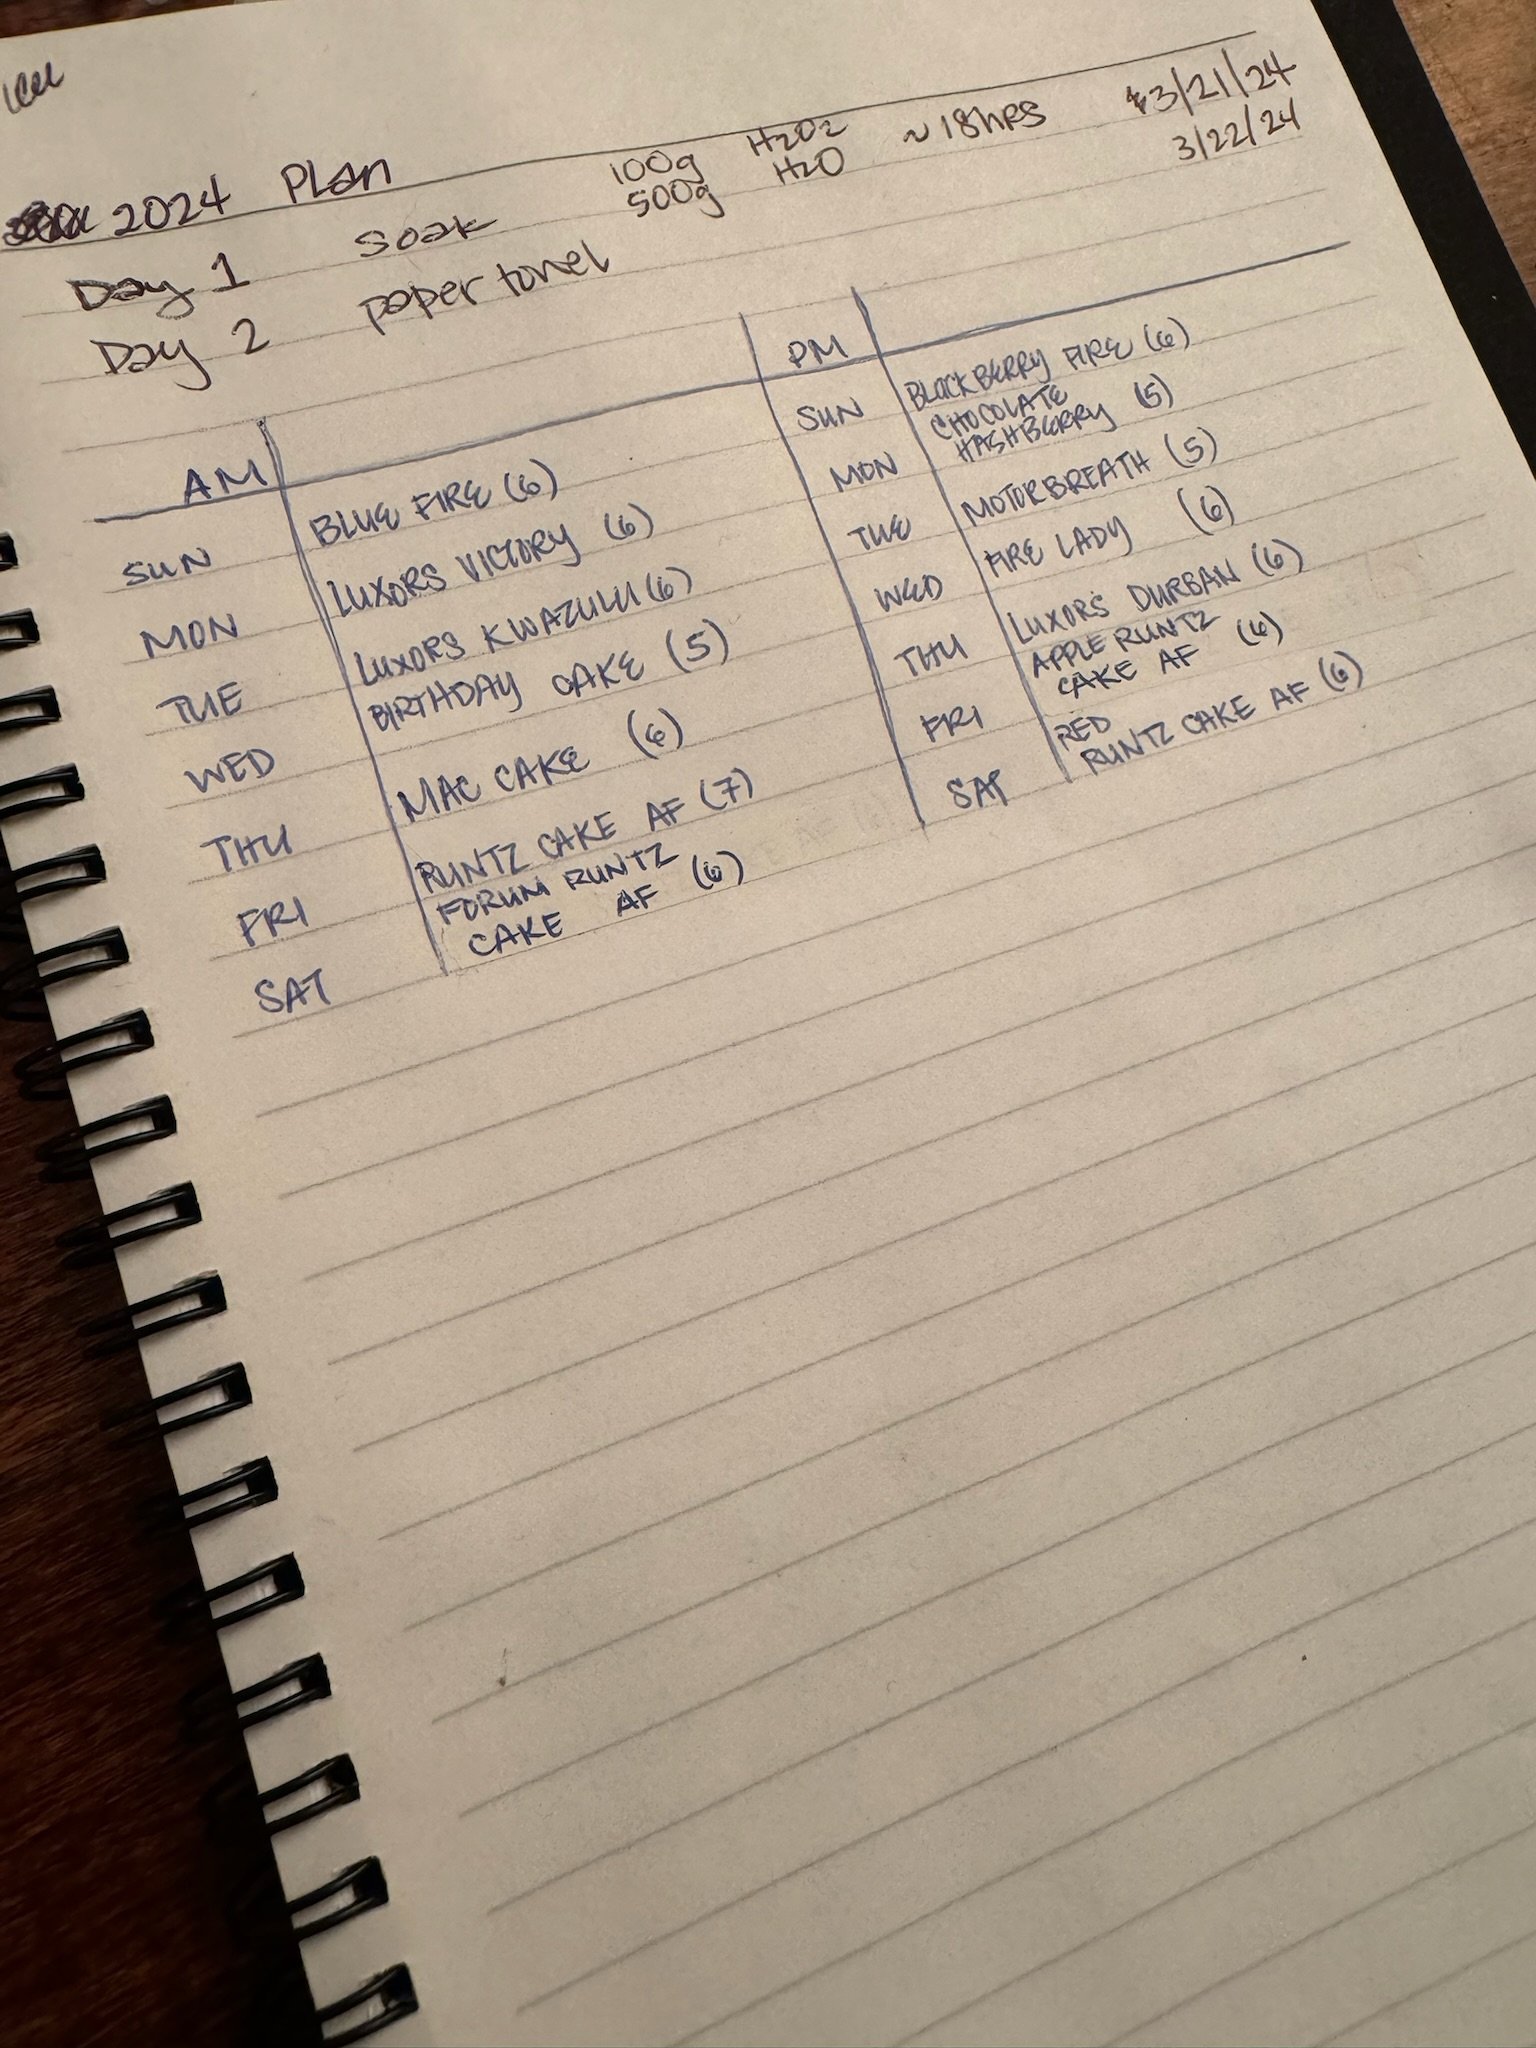
Fill each of the cavities of the pill case with the solution and put the seeds inside each one. As you’re putting each of the seeds into the pill case cavity, you want to make sure to have really good documentation. Write down the day you started soaking as well as a record of which seeds are in which cavity.
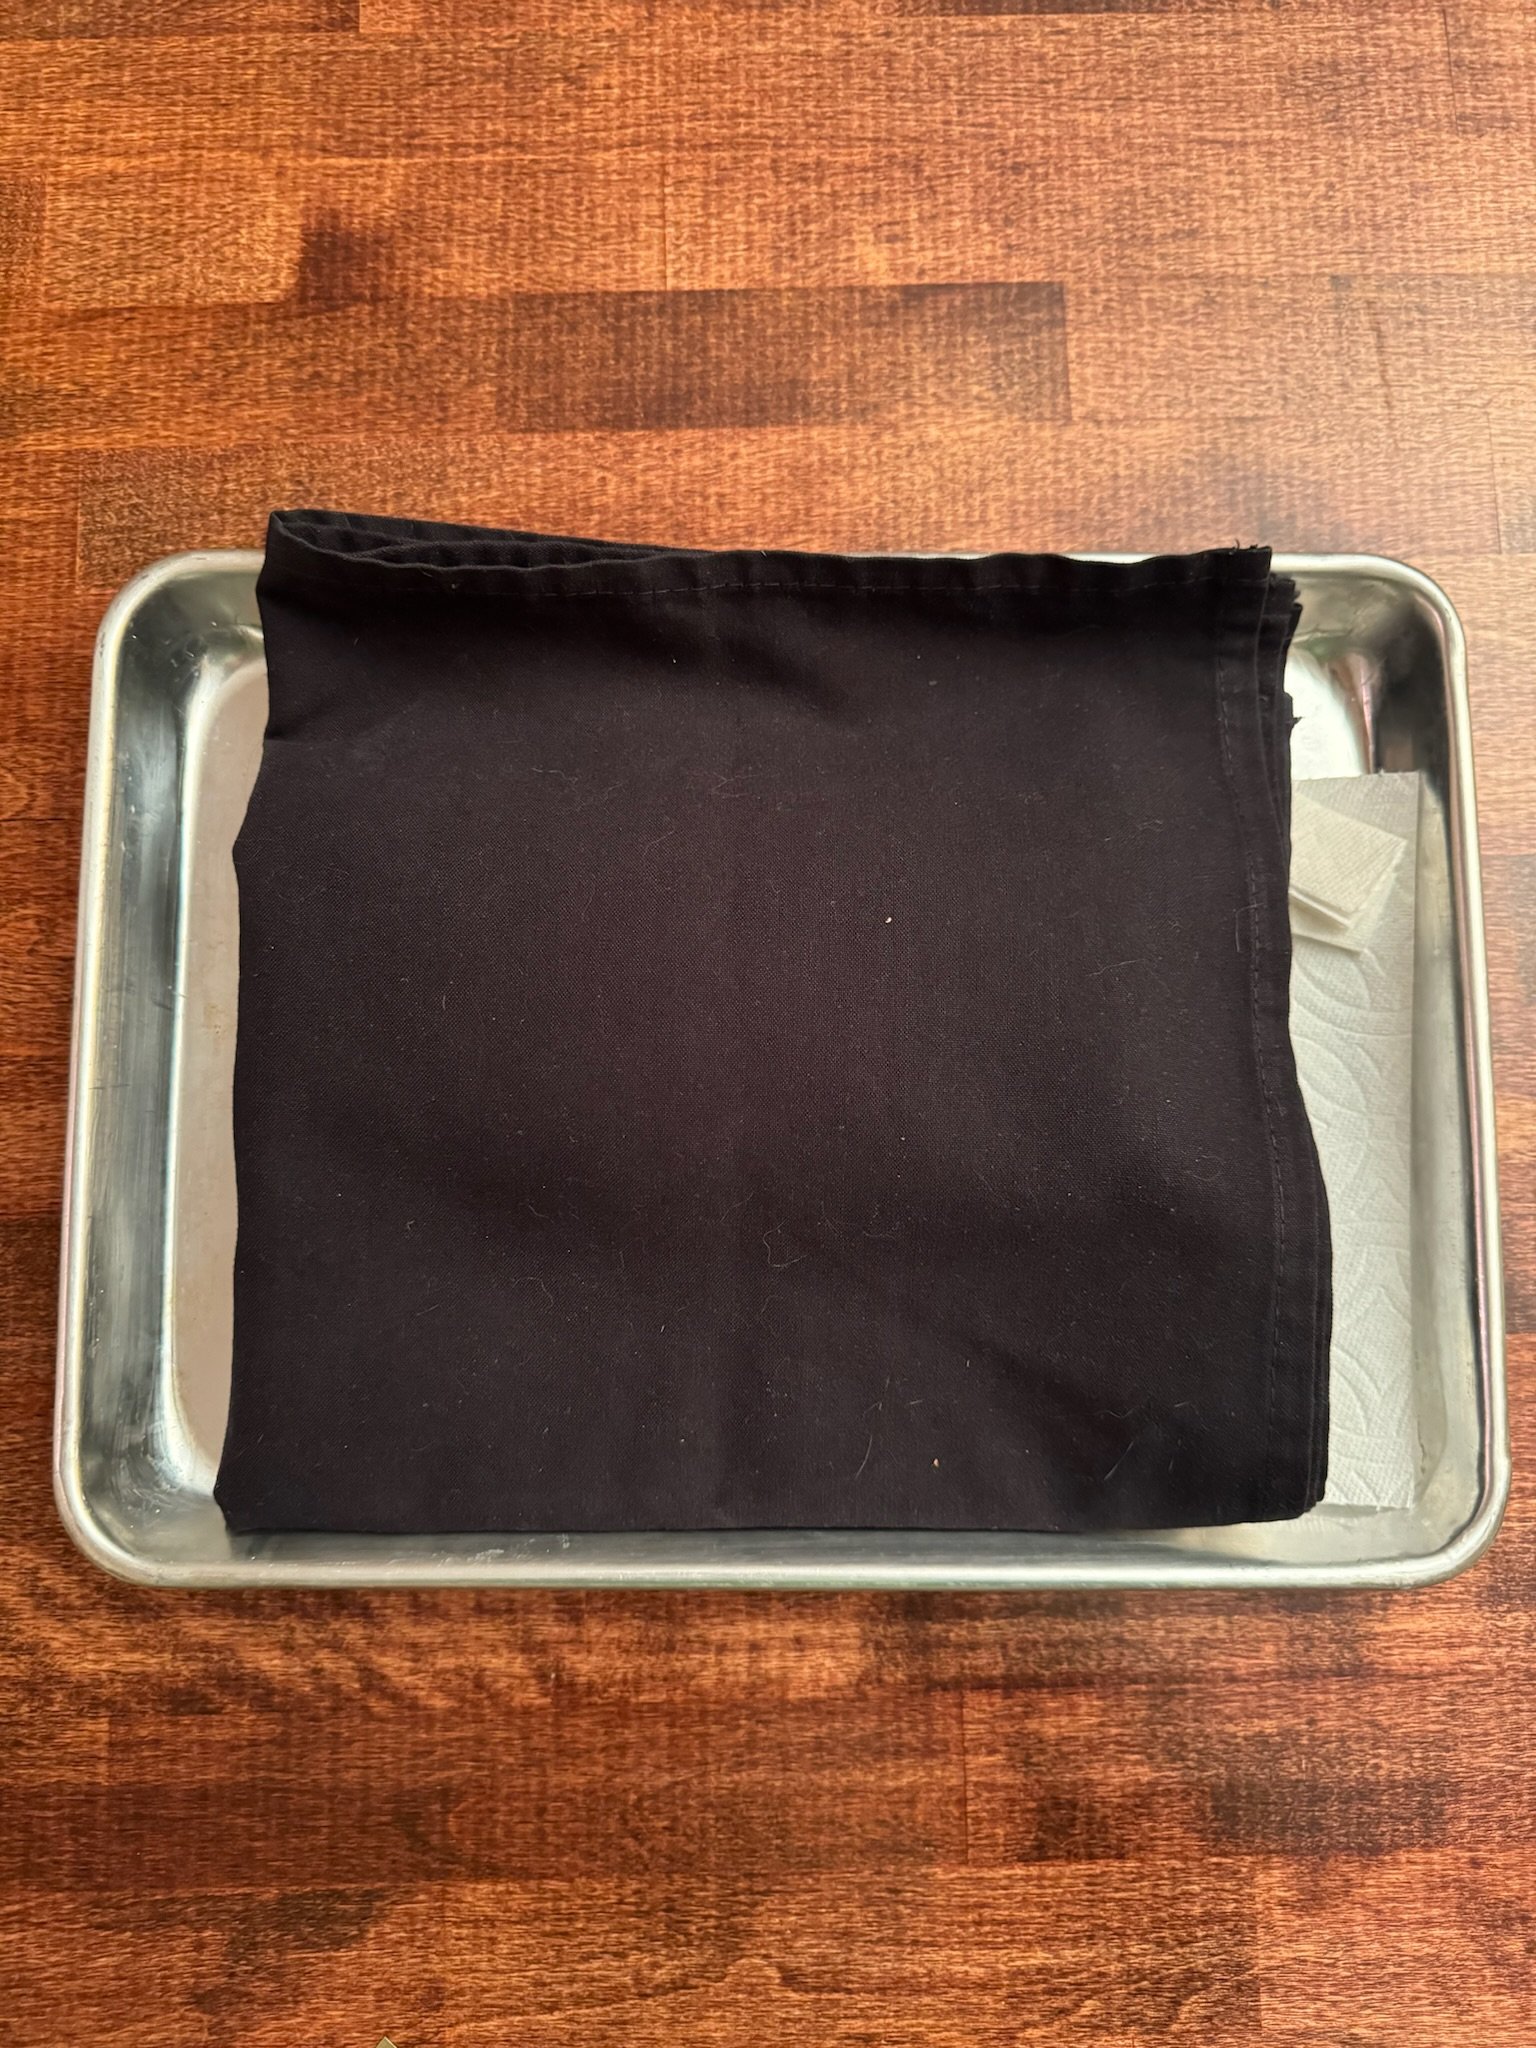
Be sure to save the remaining solution, as it will be needed later. The seeds are going to naturally want to float, so give the container a little shake when you’re done. Cover the entire pill case with a cloth to keep the light out and let the seeds soak for 12 to 18 hours. The ideal temperature is around 66 degrees Fahrenheit. The key is the heating mat set to 75°.
Day 2 - Paper towel time
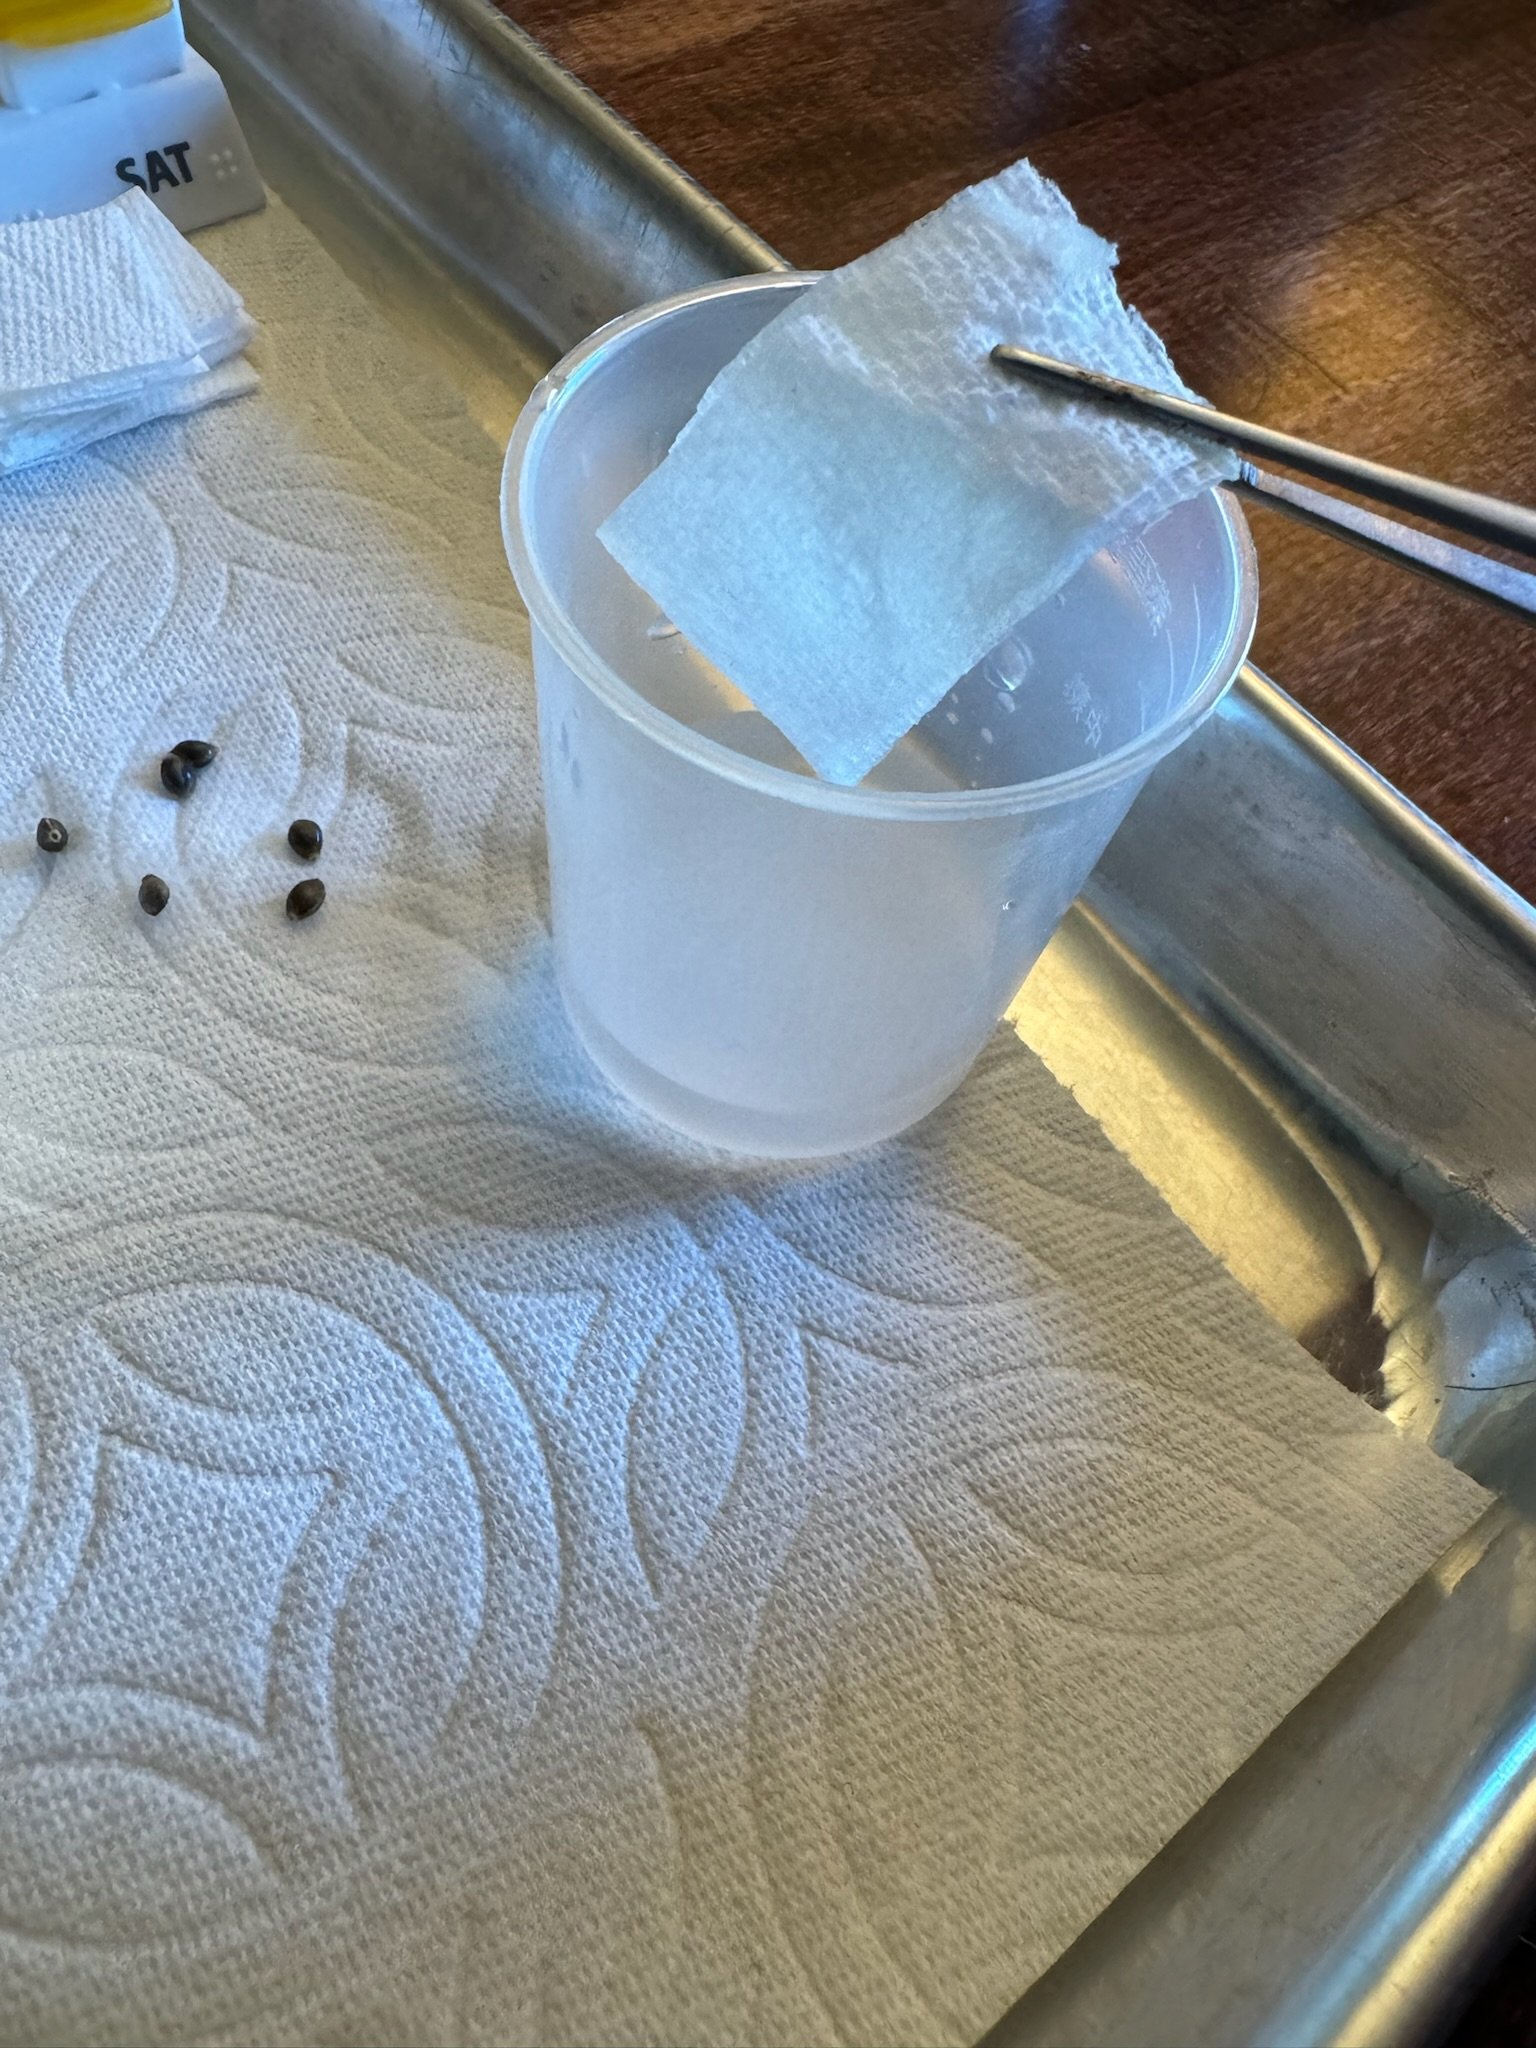
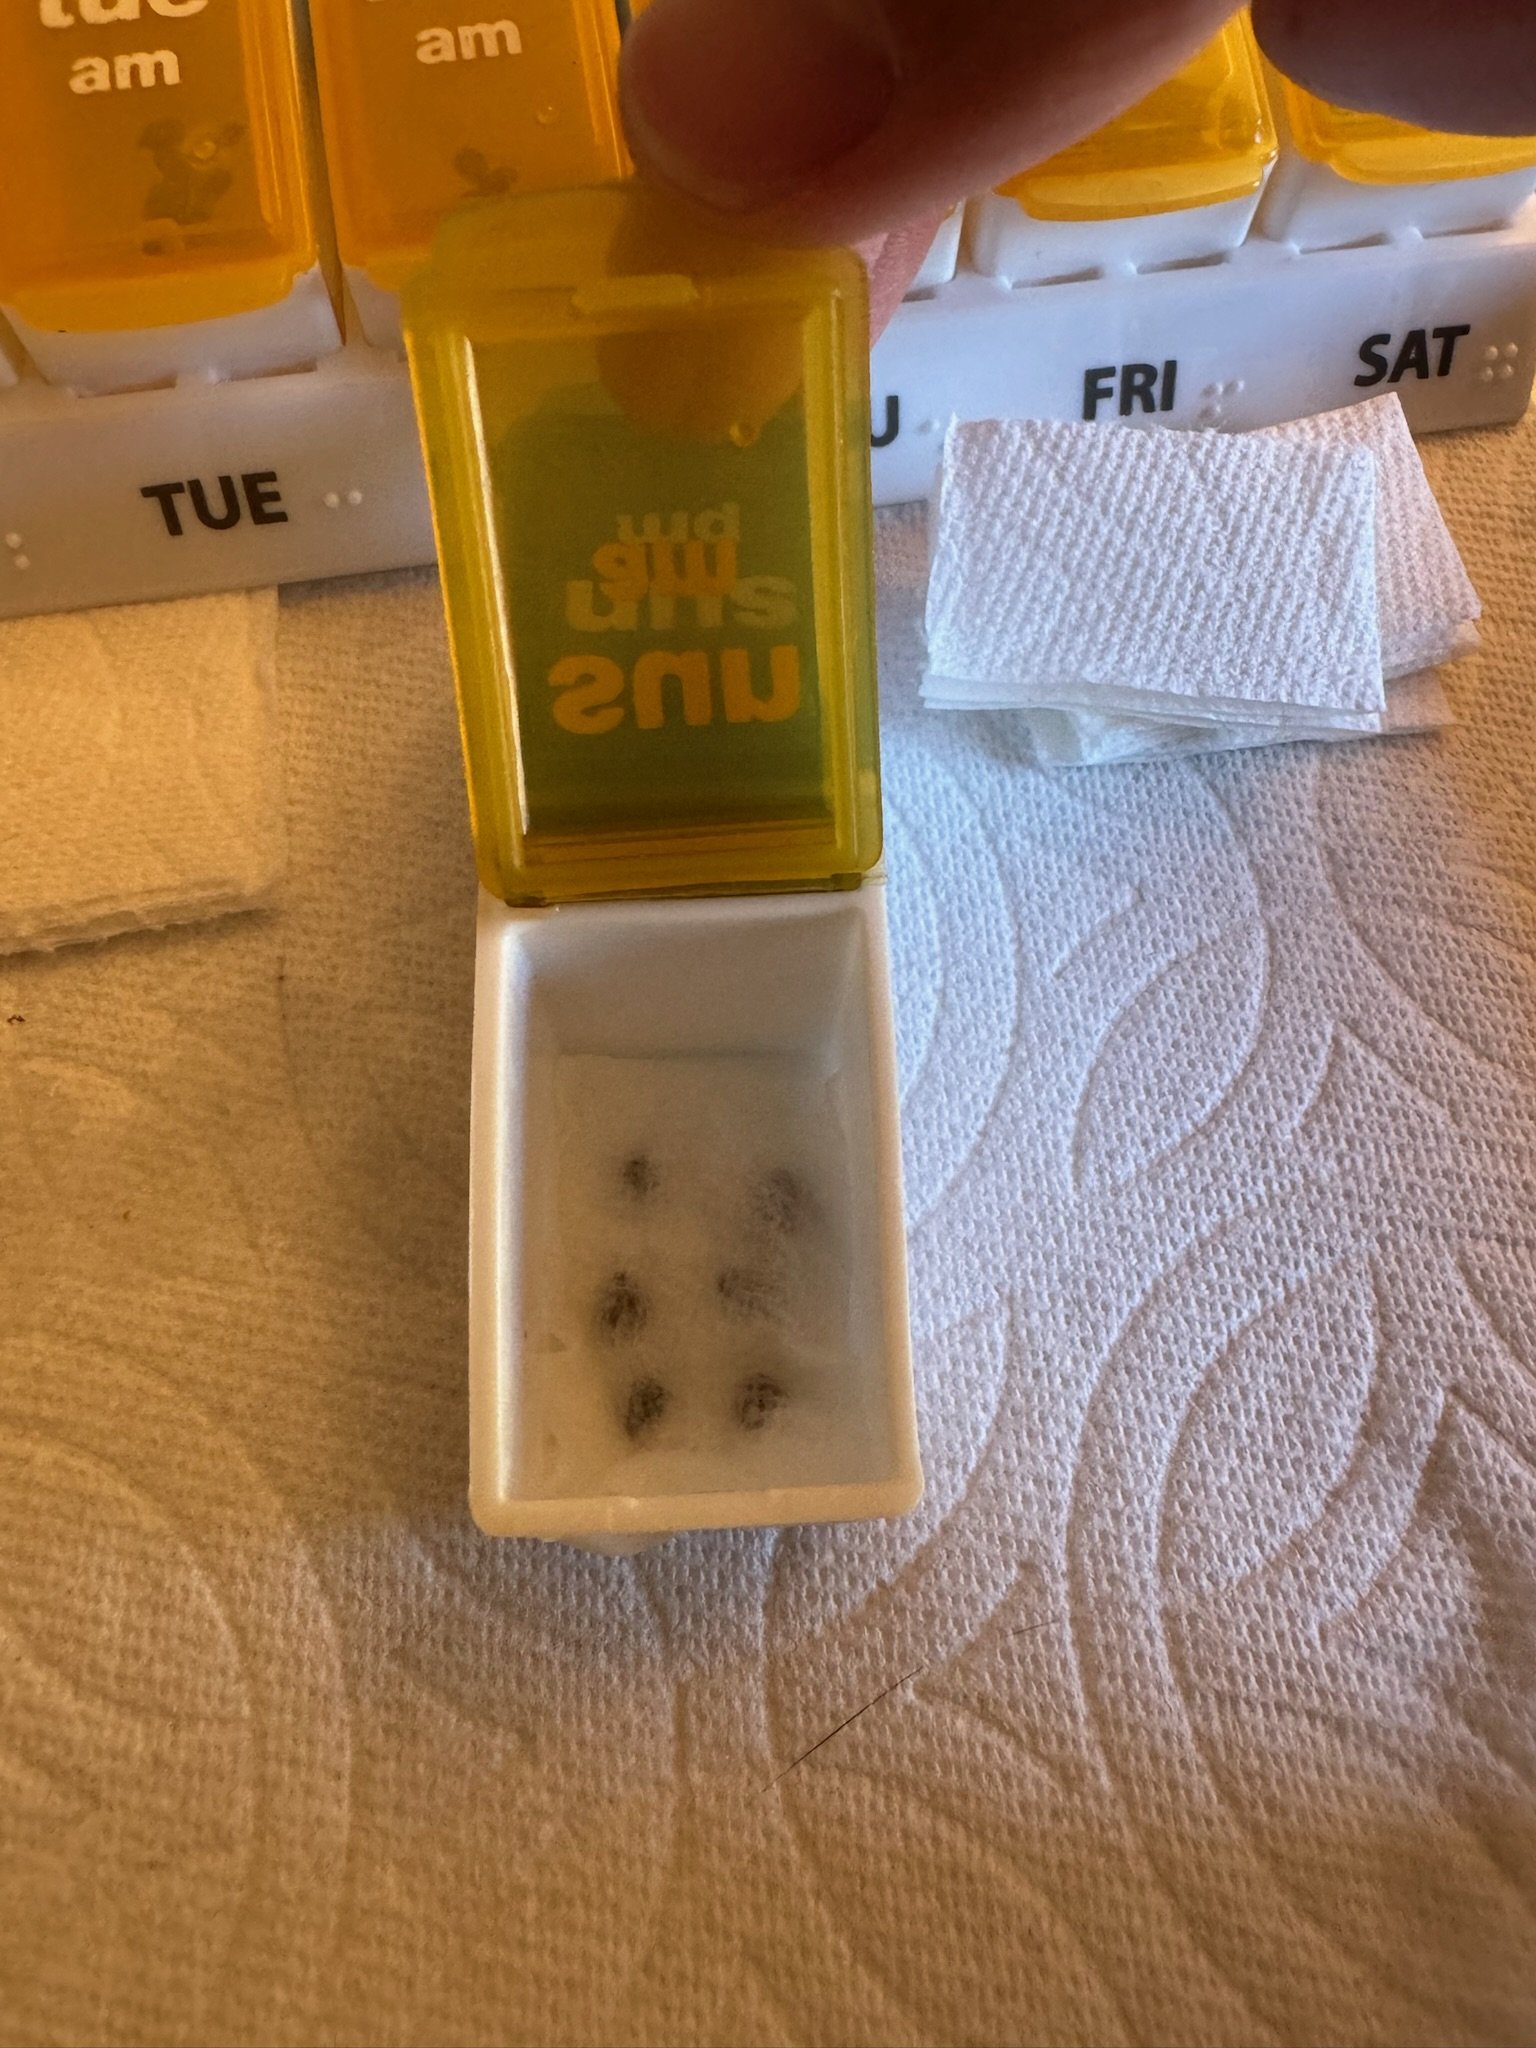
After 12 to 18 hours of soaking, it’s time to start the germination process. Cut a long strip of paper towel, fold it in half, and moisten with the remaining solution. Working with one cavity at a time, carefully take out all the seeds. Dump the solution out of the cavity, and place the damp paper towel inside.
Put the seeds on top of the damp paper towel and sandwich the seeds in the fold. Close the lid and check every day for seeds to open.
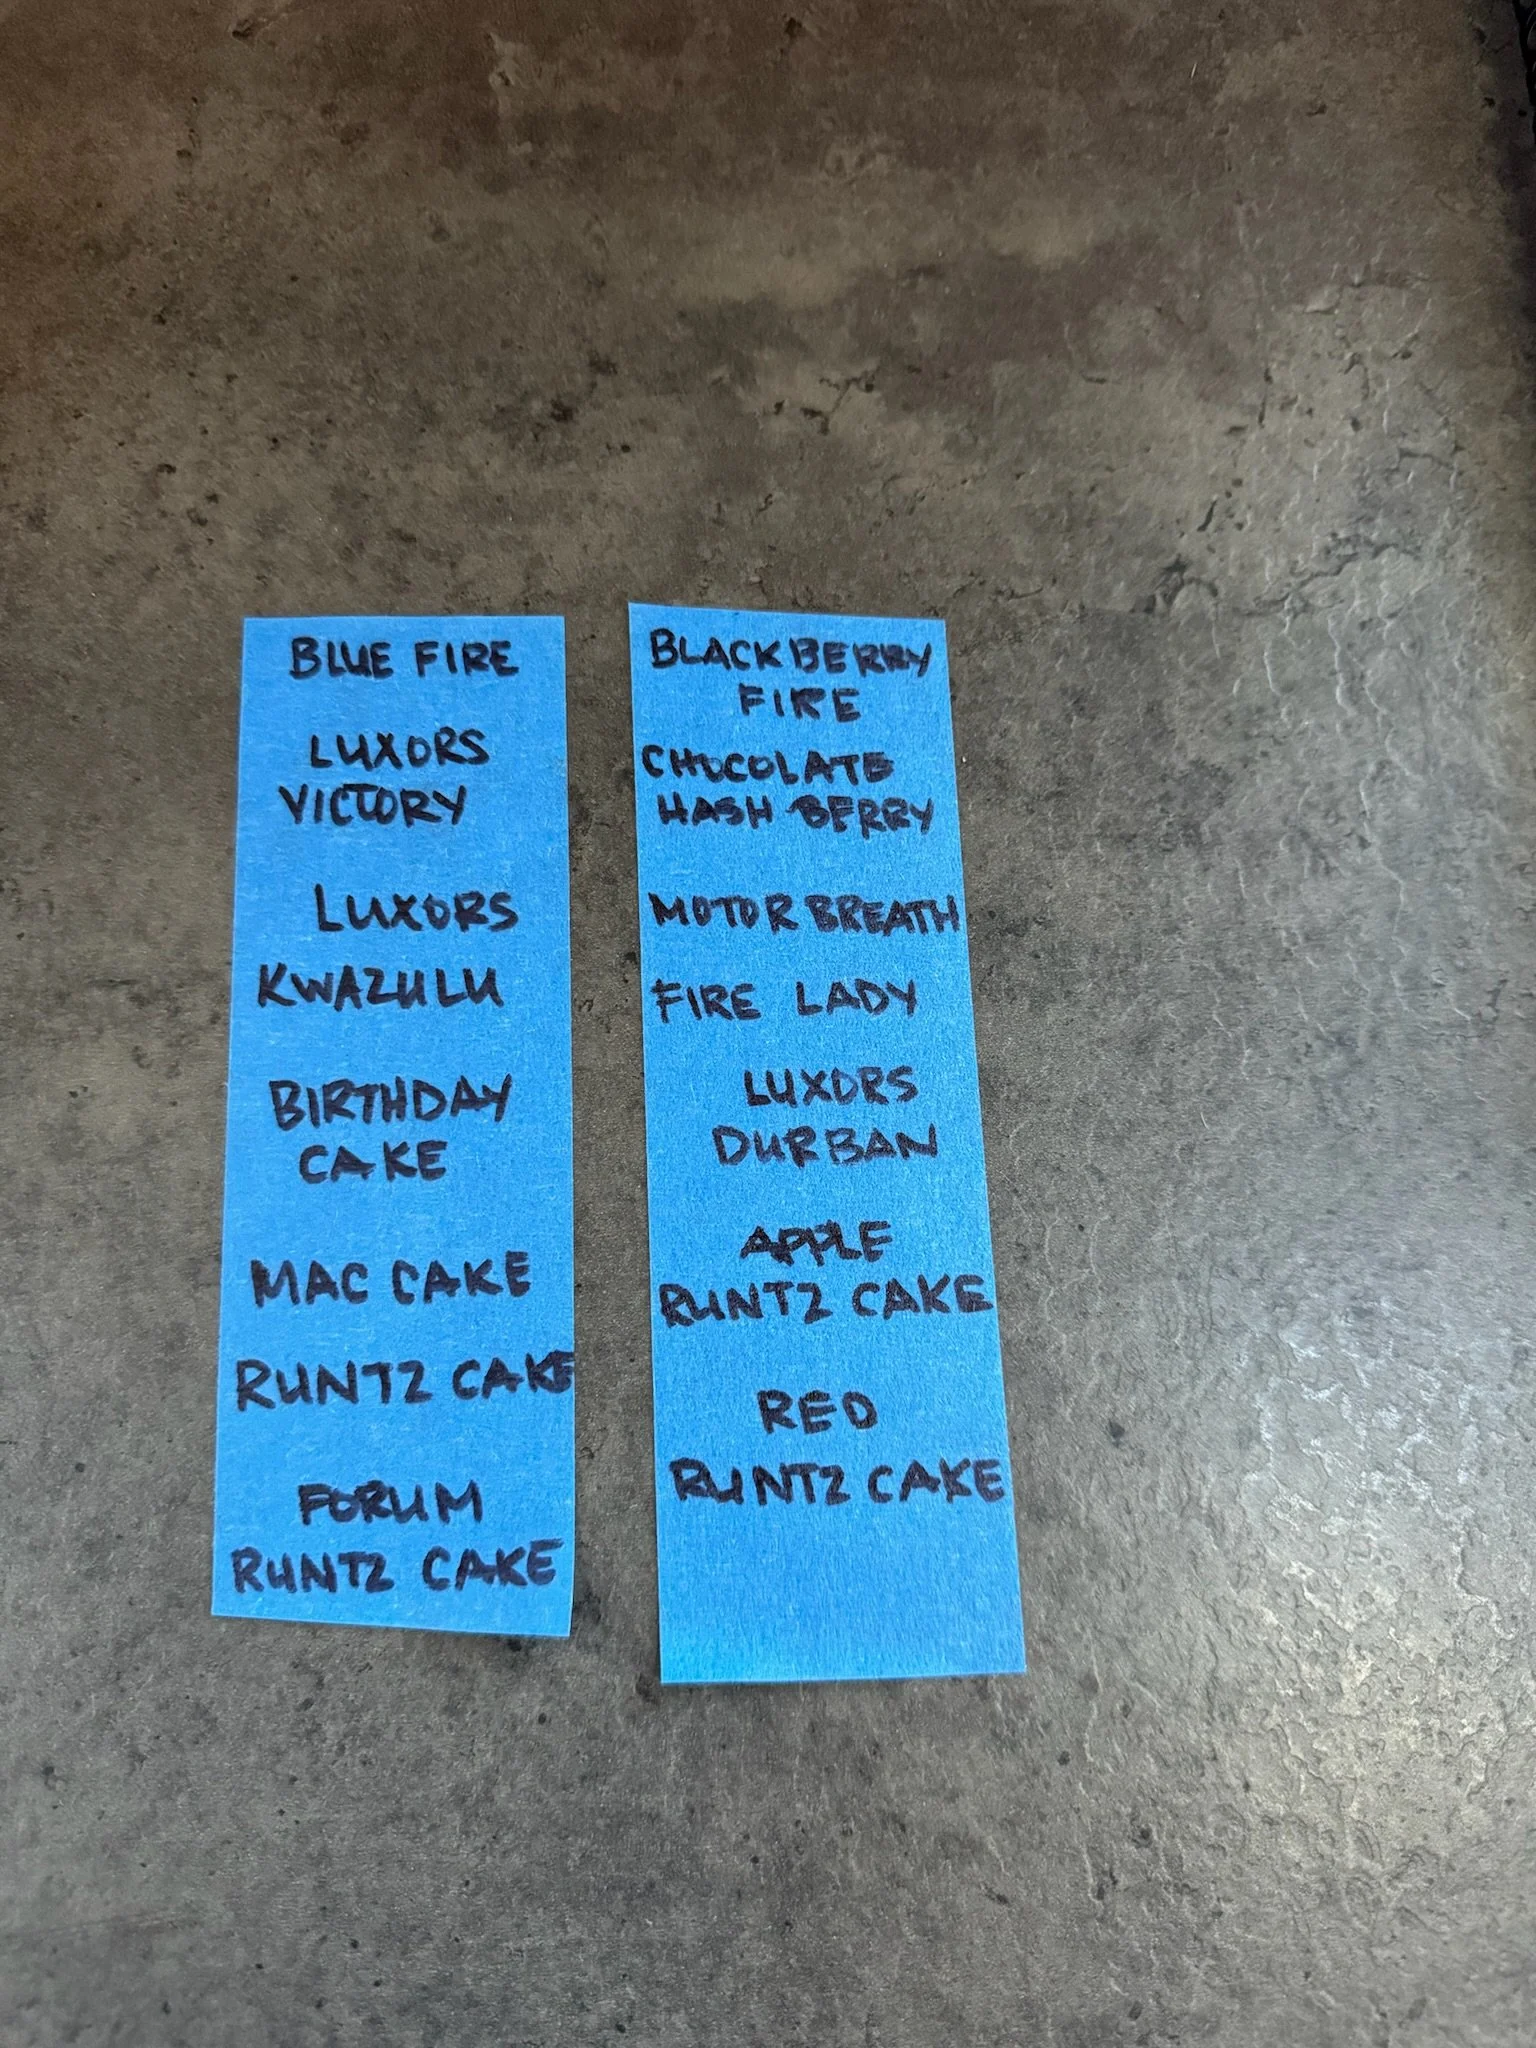
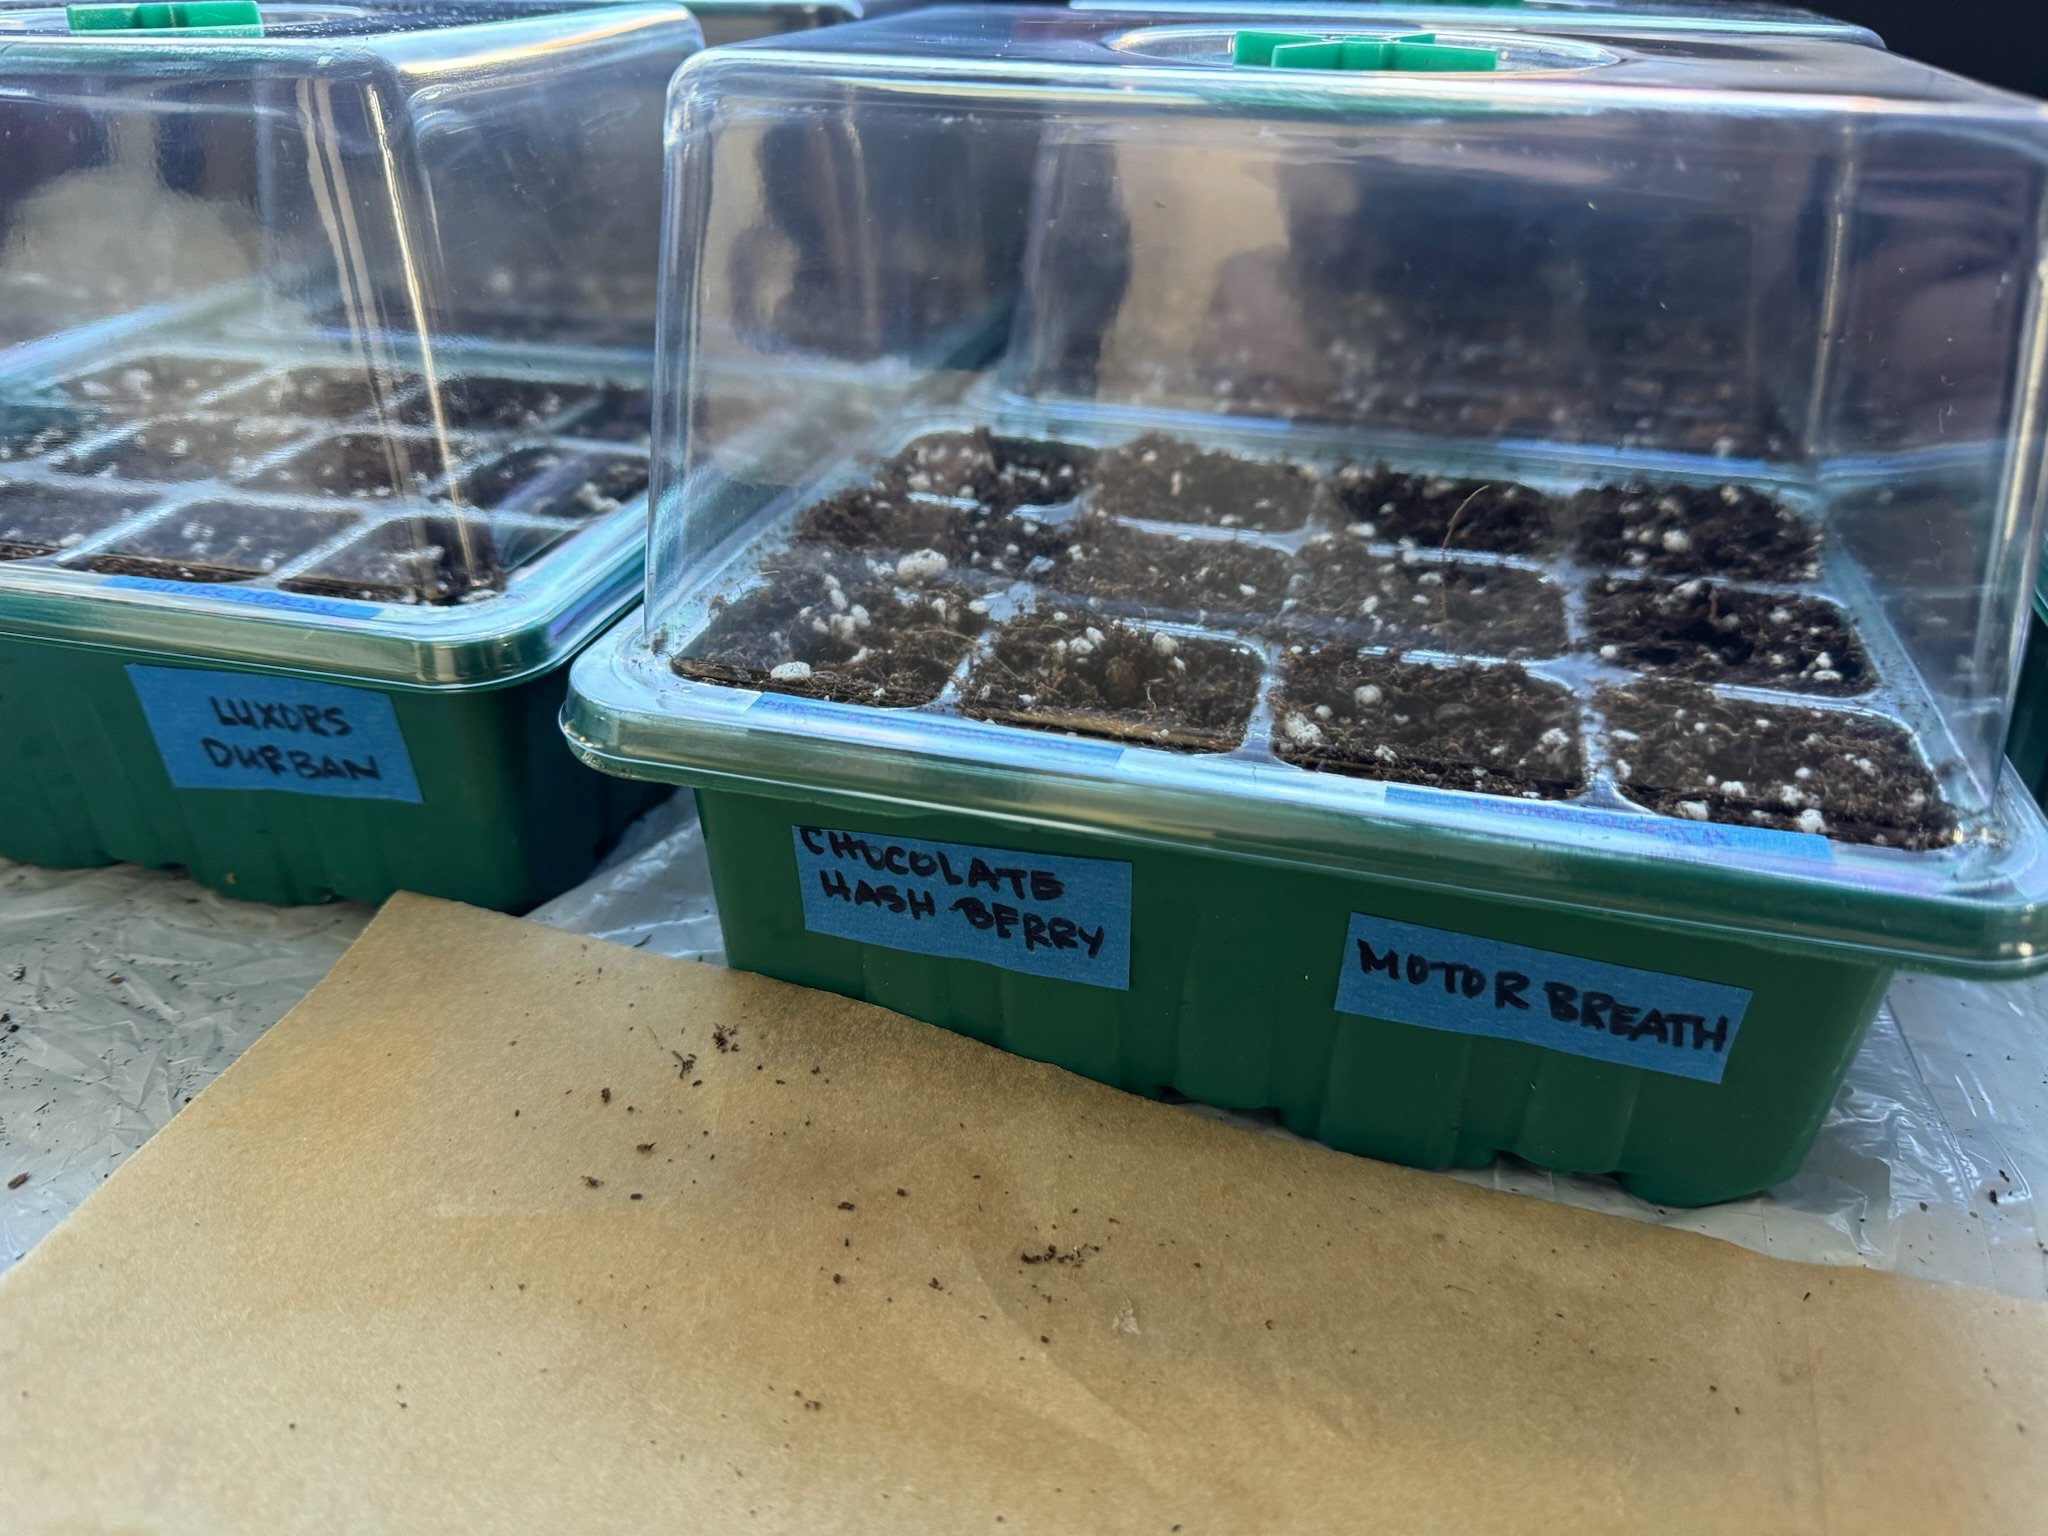
Documentation is key, especially when you’re working with a lot of different varieties. Consider pre-making some labels with painter’s tape so you can easily label the grow trays the seeds will go into once they pop. Christian used a range of varieties from Caper Purple Seeds.
Day 3 - Popping and planting
Every day, check each of the cavities of the pill case to see if the seeds have popped. If the paper towel is dry, give it a few more drops of hydrogen peroxide/water solution.
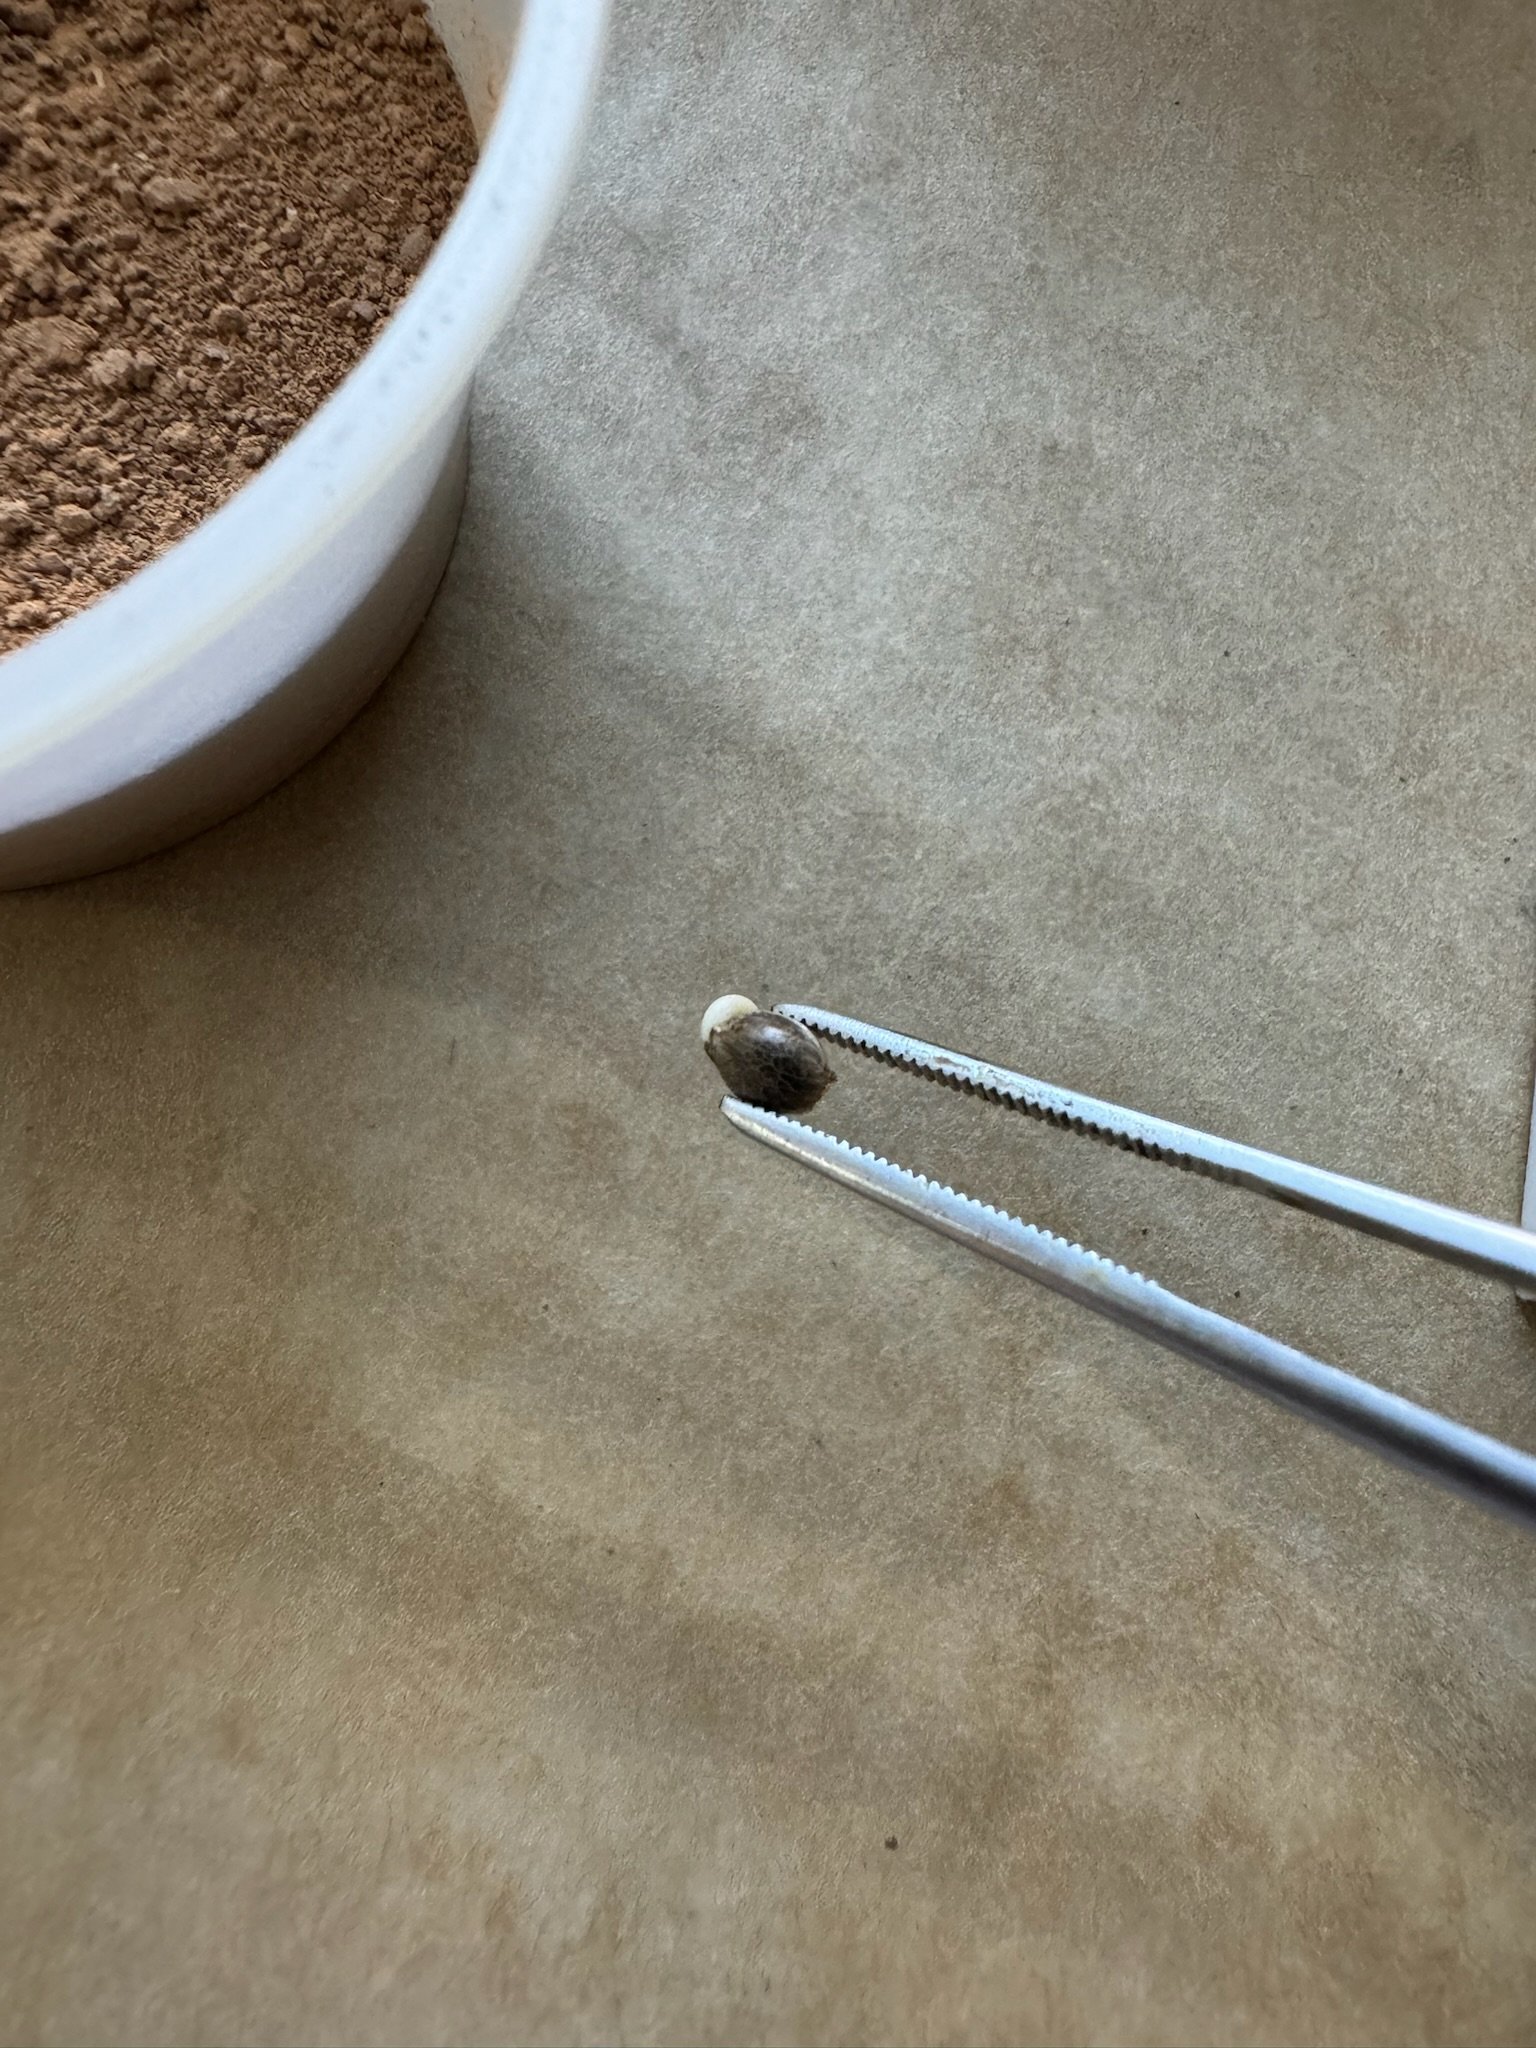
Once the seeds have started to pop open, and you are able to see some roots, it’s time to plant.
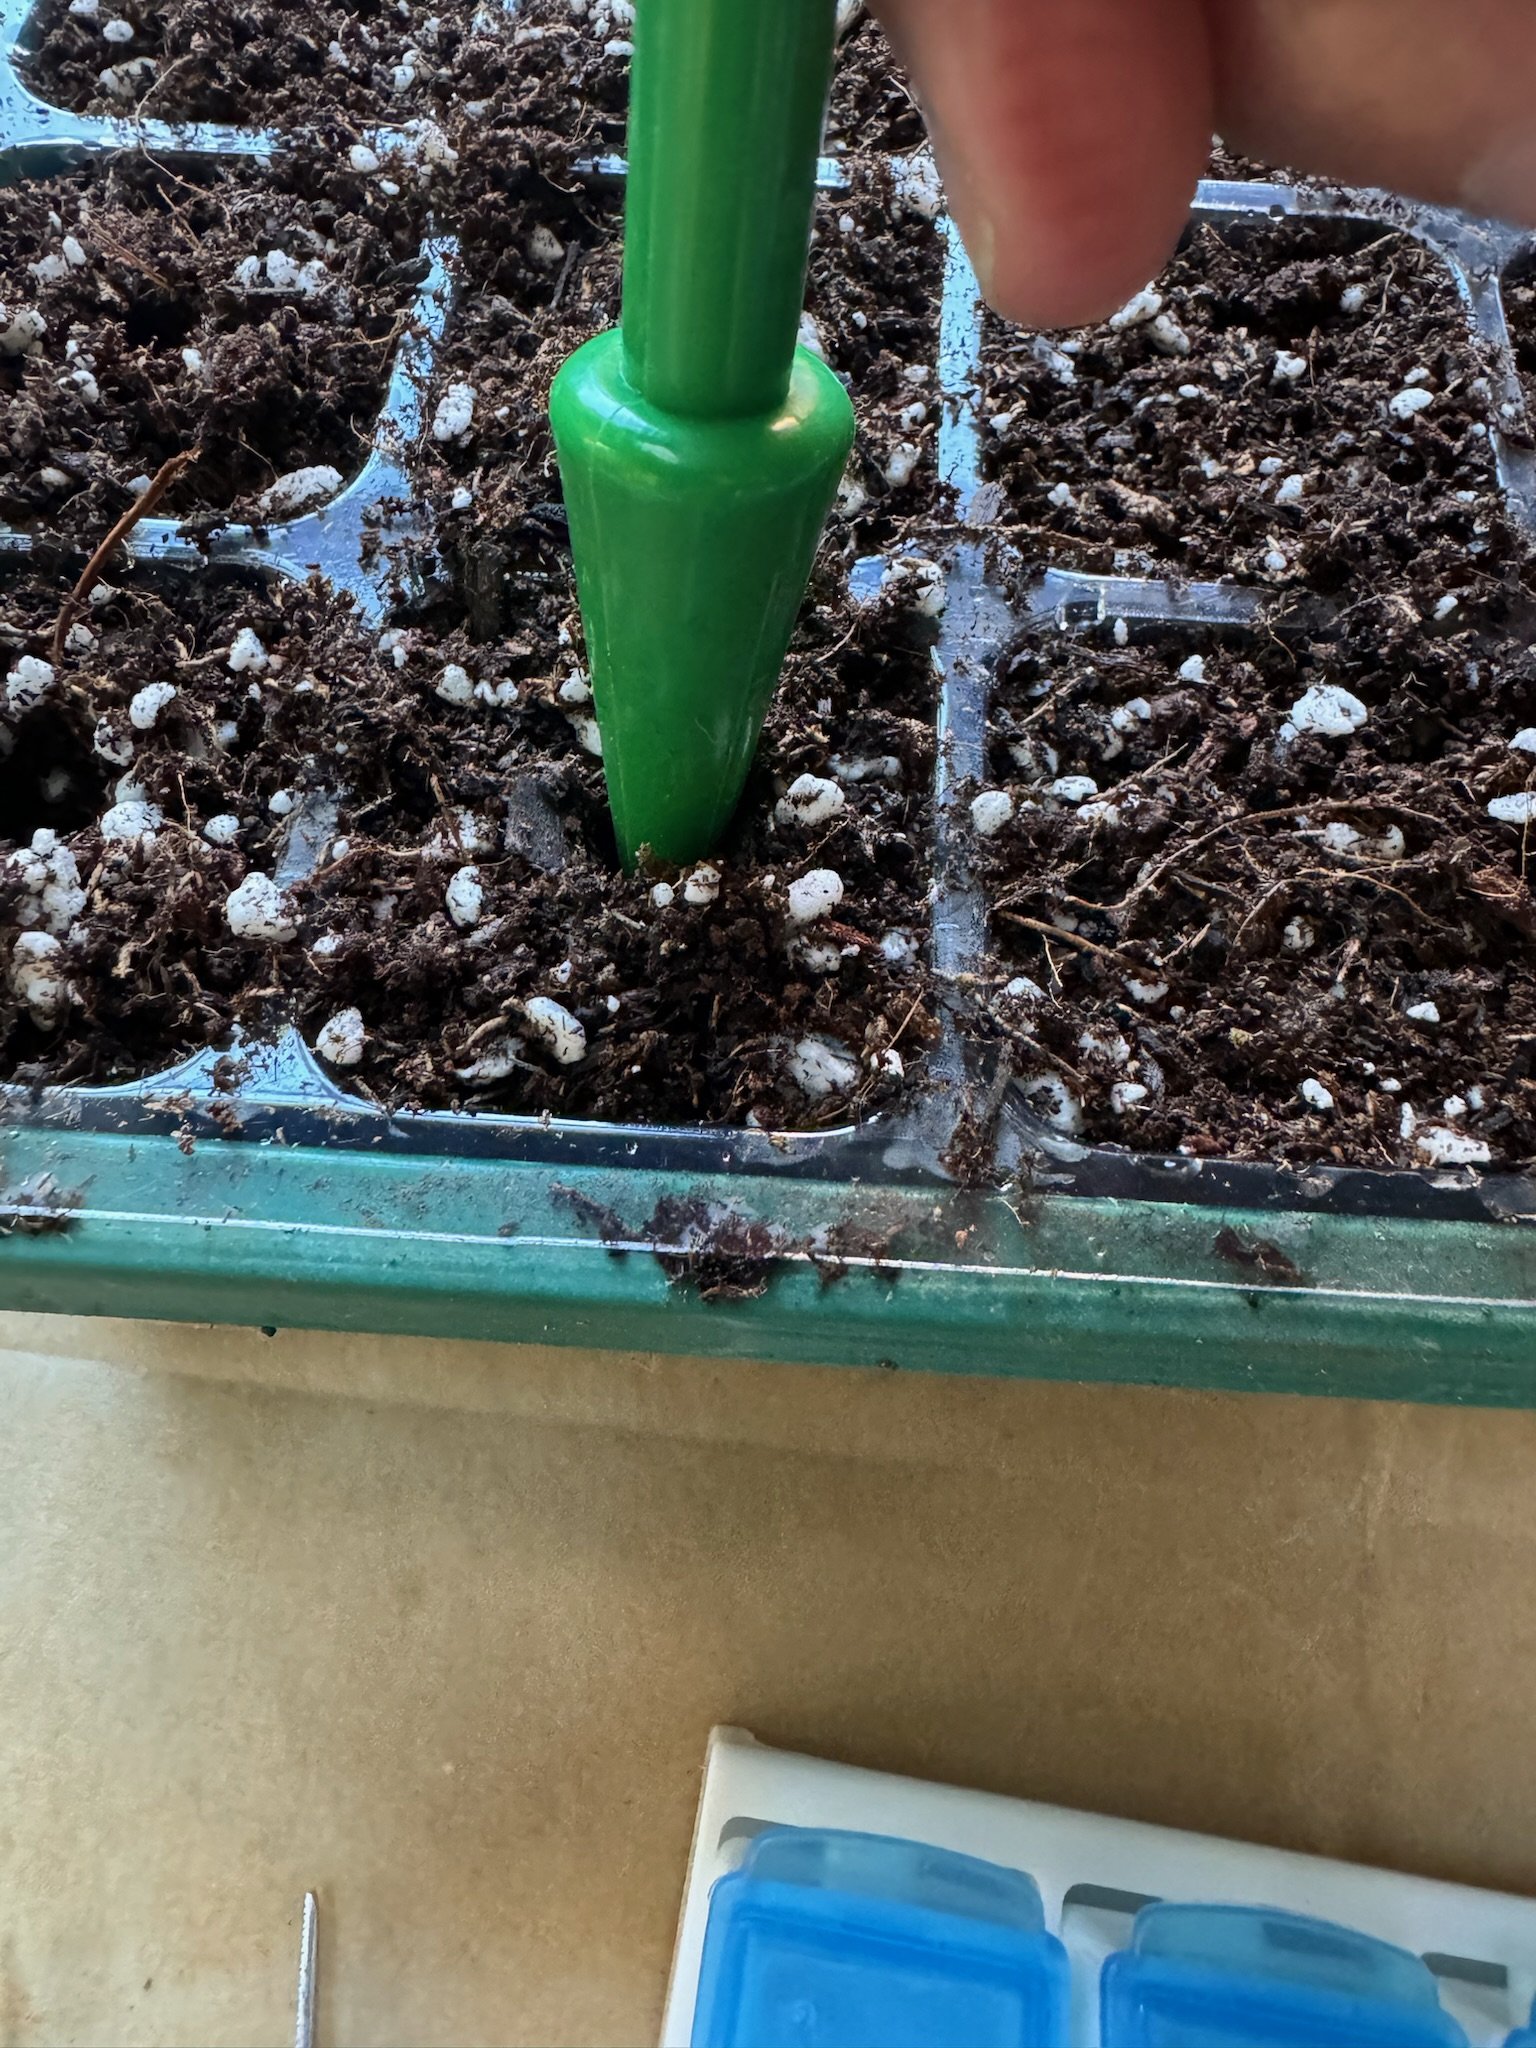
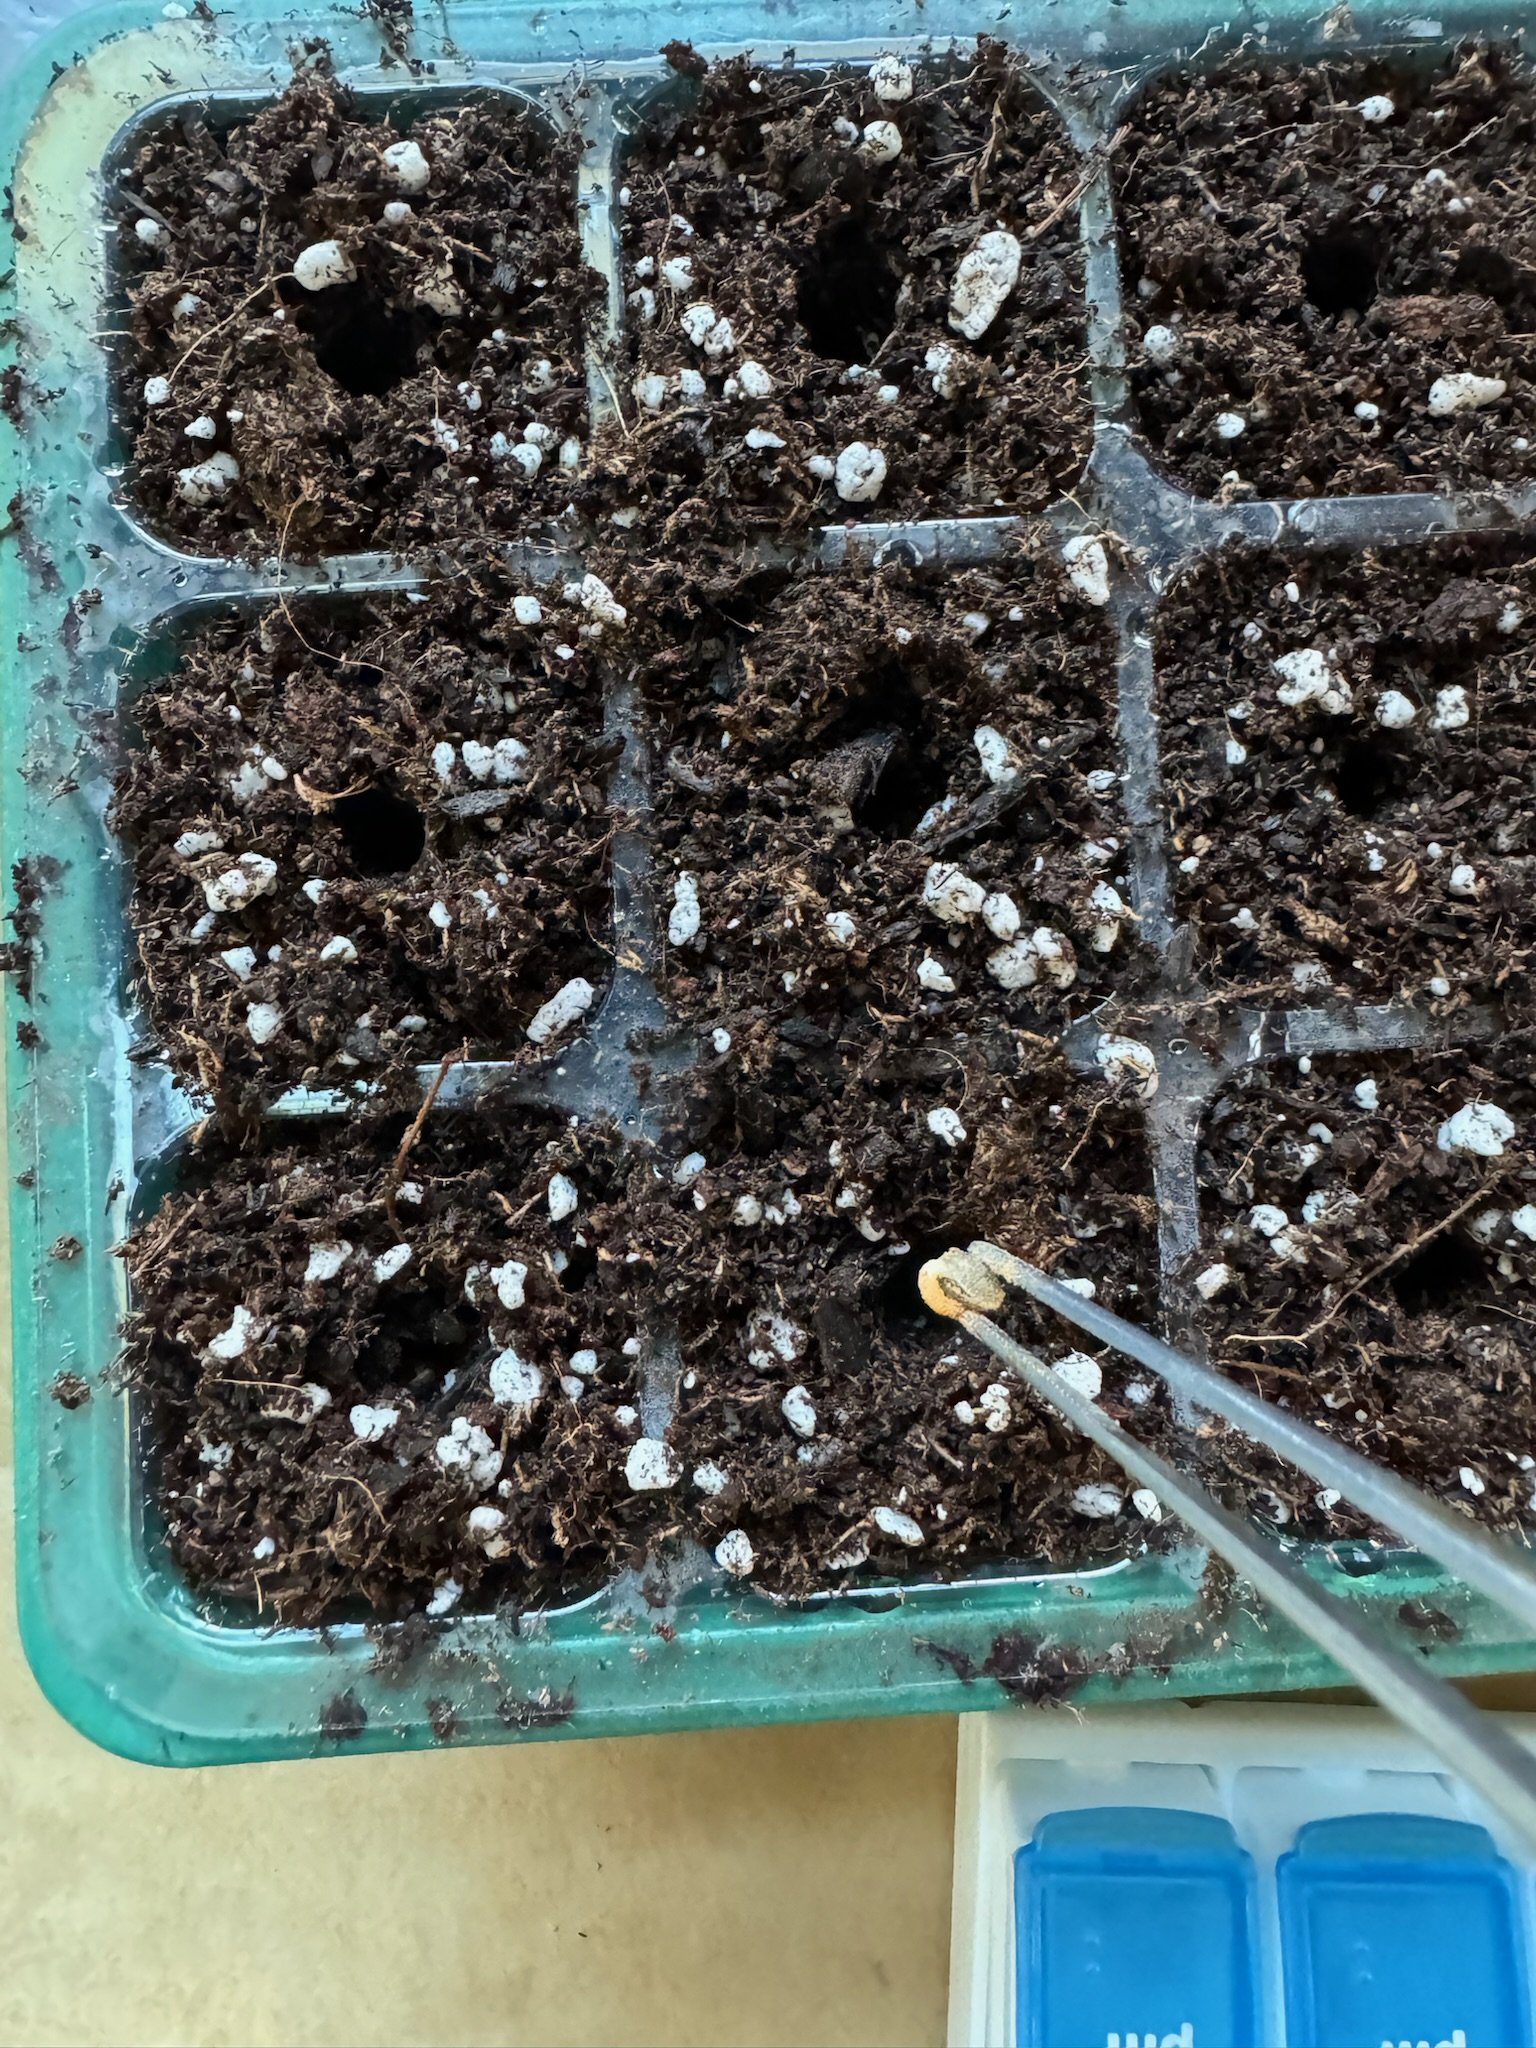
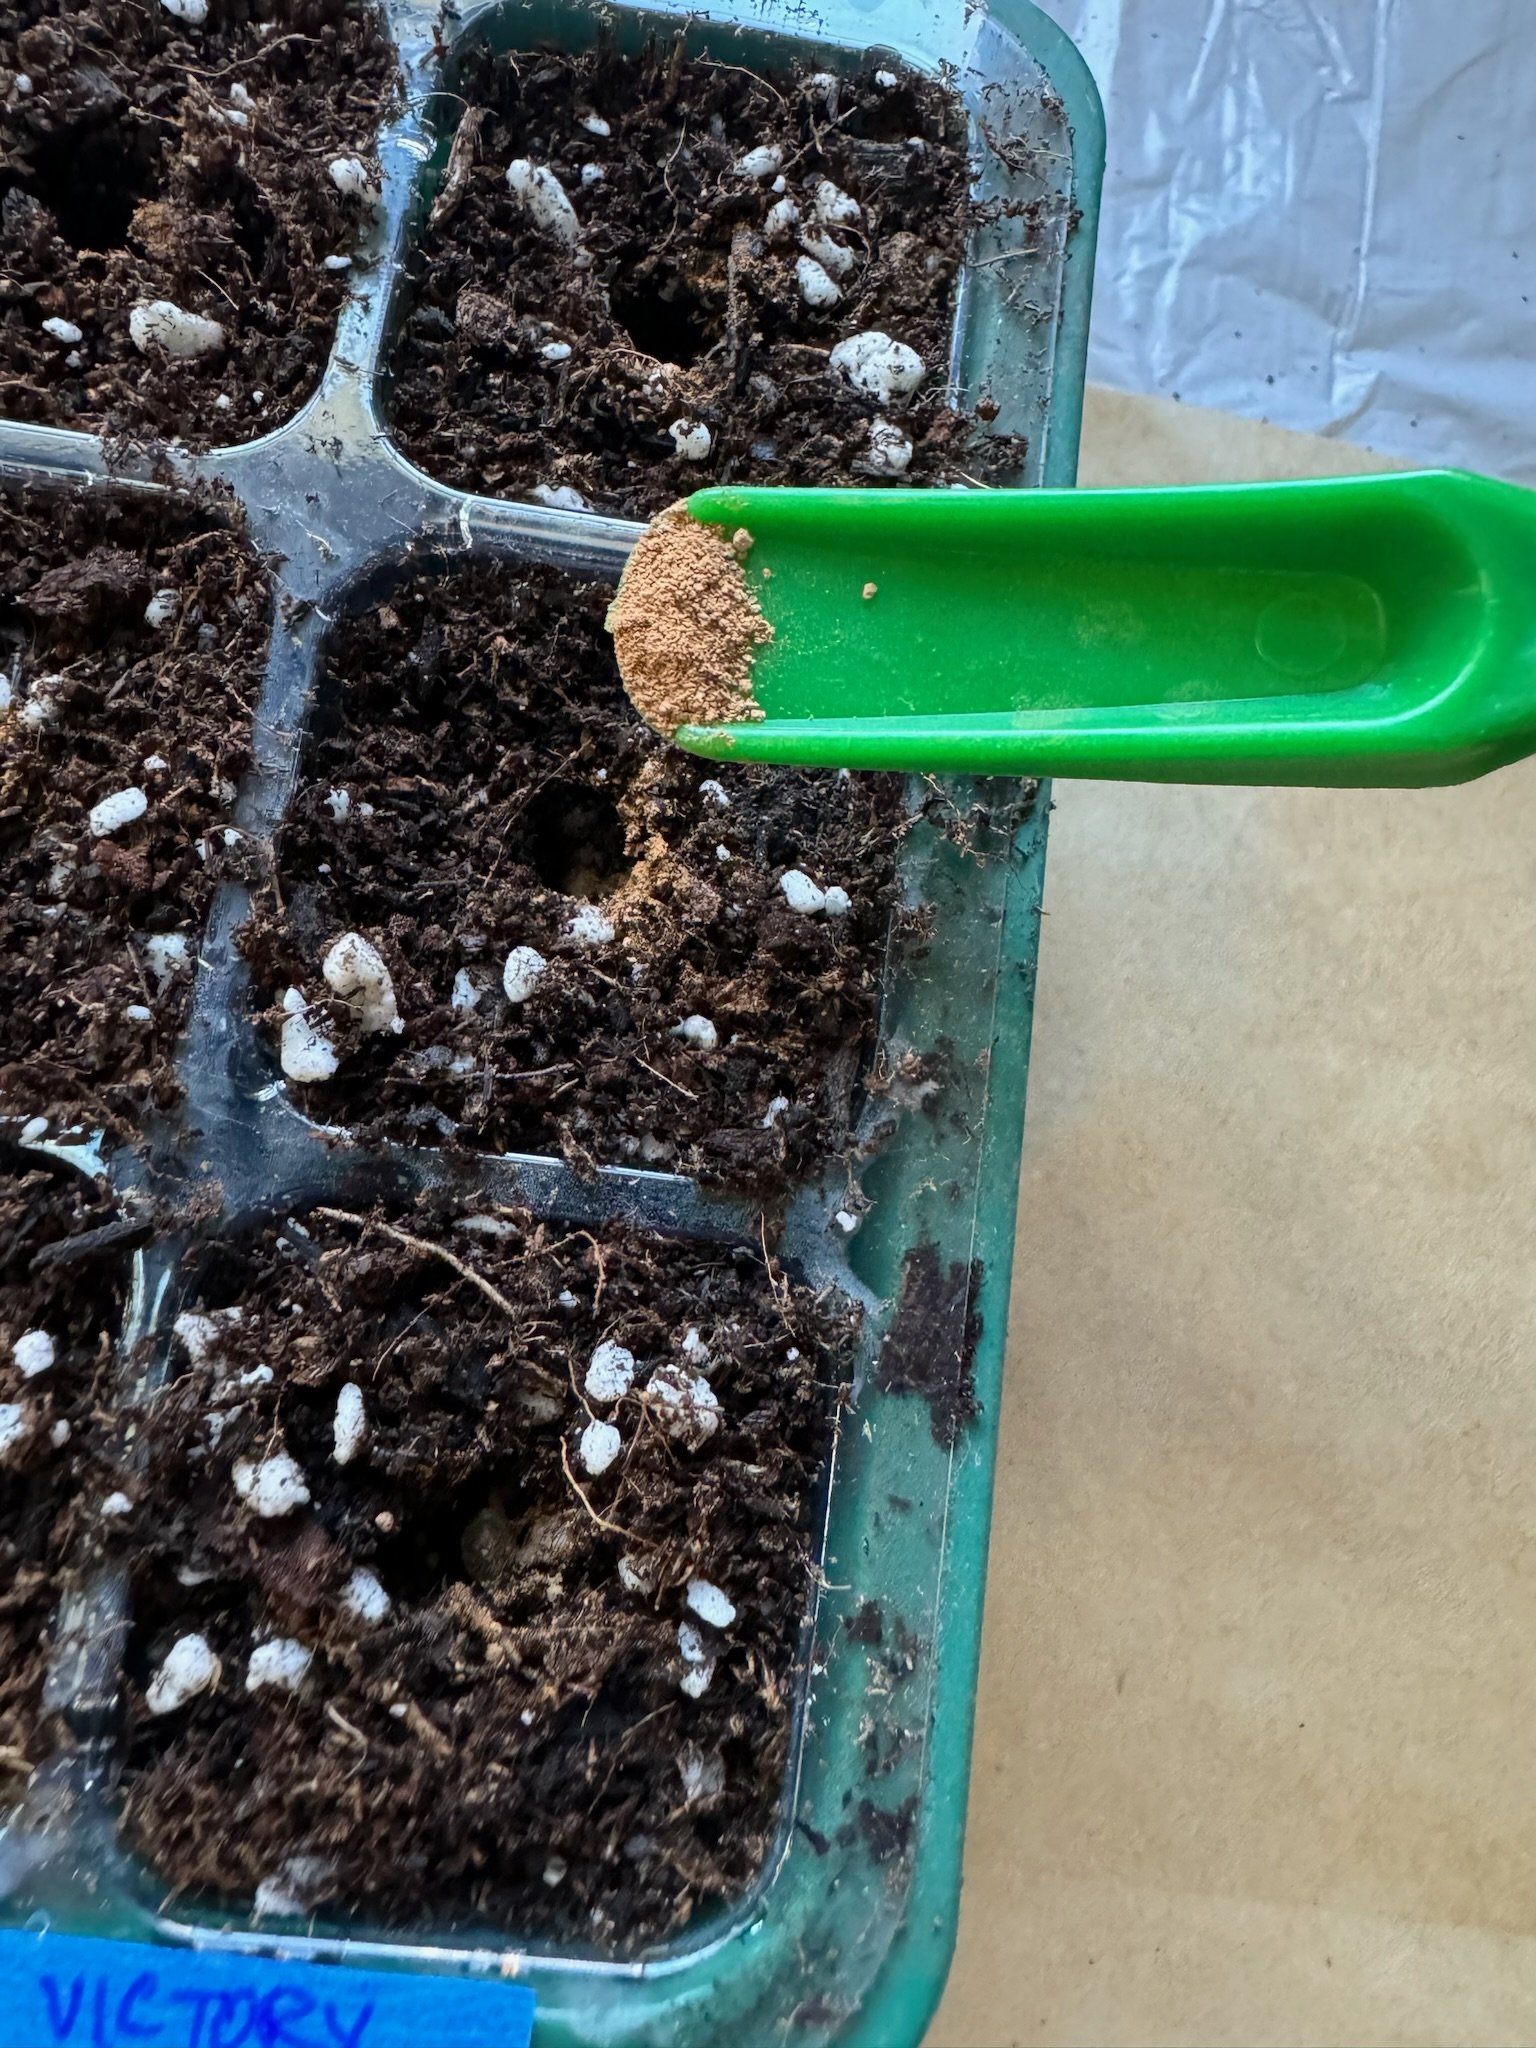
Prepare seedling trays with whatever medium you would like, making sure to place a small dimple. Place some mycorrhiza in the dimple; Dynamyco is a great brand. Then gently place the seed inside and sprinkle a bit of the mycorrhiza on top.
After lightly watering each of the cells, place a cover on top of the seed trays to keep the moisture and heat in. Place the trays on a seed mat to promote proper temperature and encourage growth.
After a day or two, you will start seeing the plant emerge. Make sure you provide ample light and keep the soil moist. Once the set of true leaves becomes a little bigger, you can start transplanting into a different container. Pretty soon, you’ll be on your way to a bountiful yield.


